
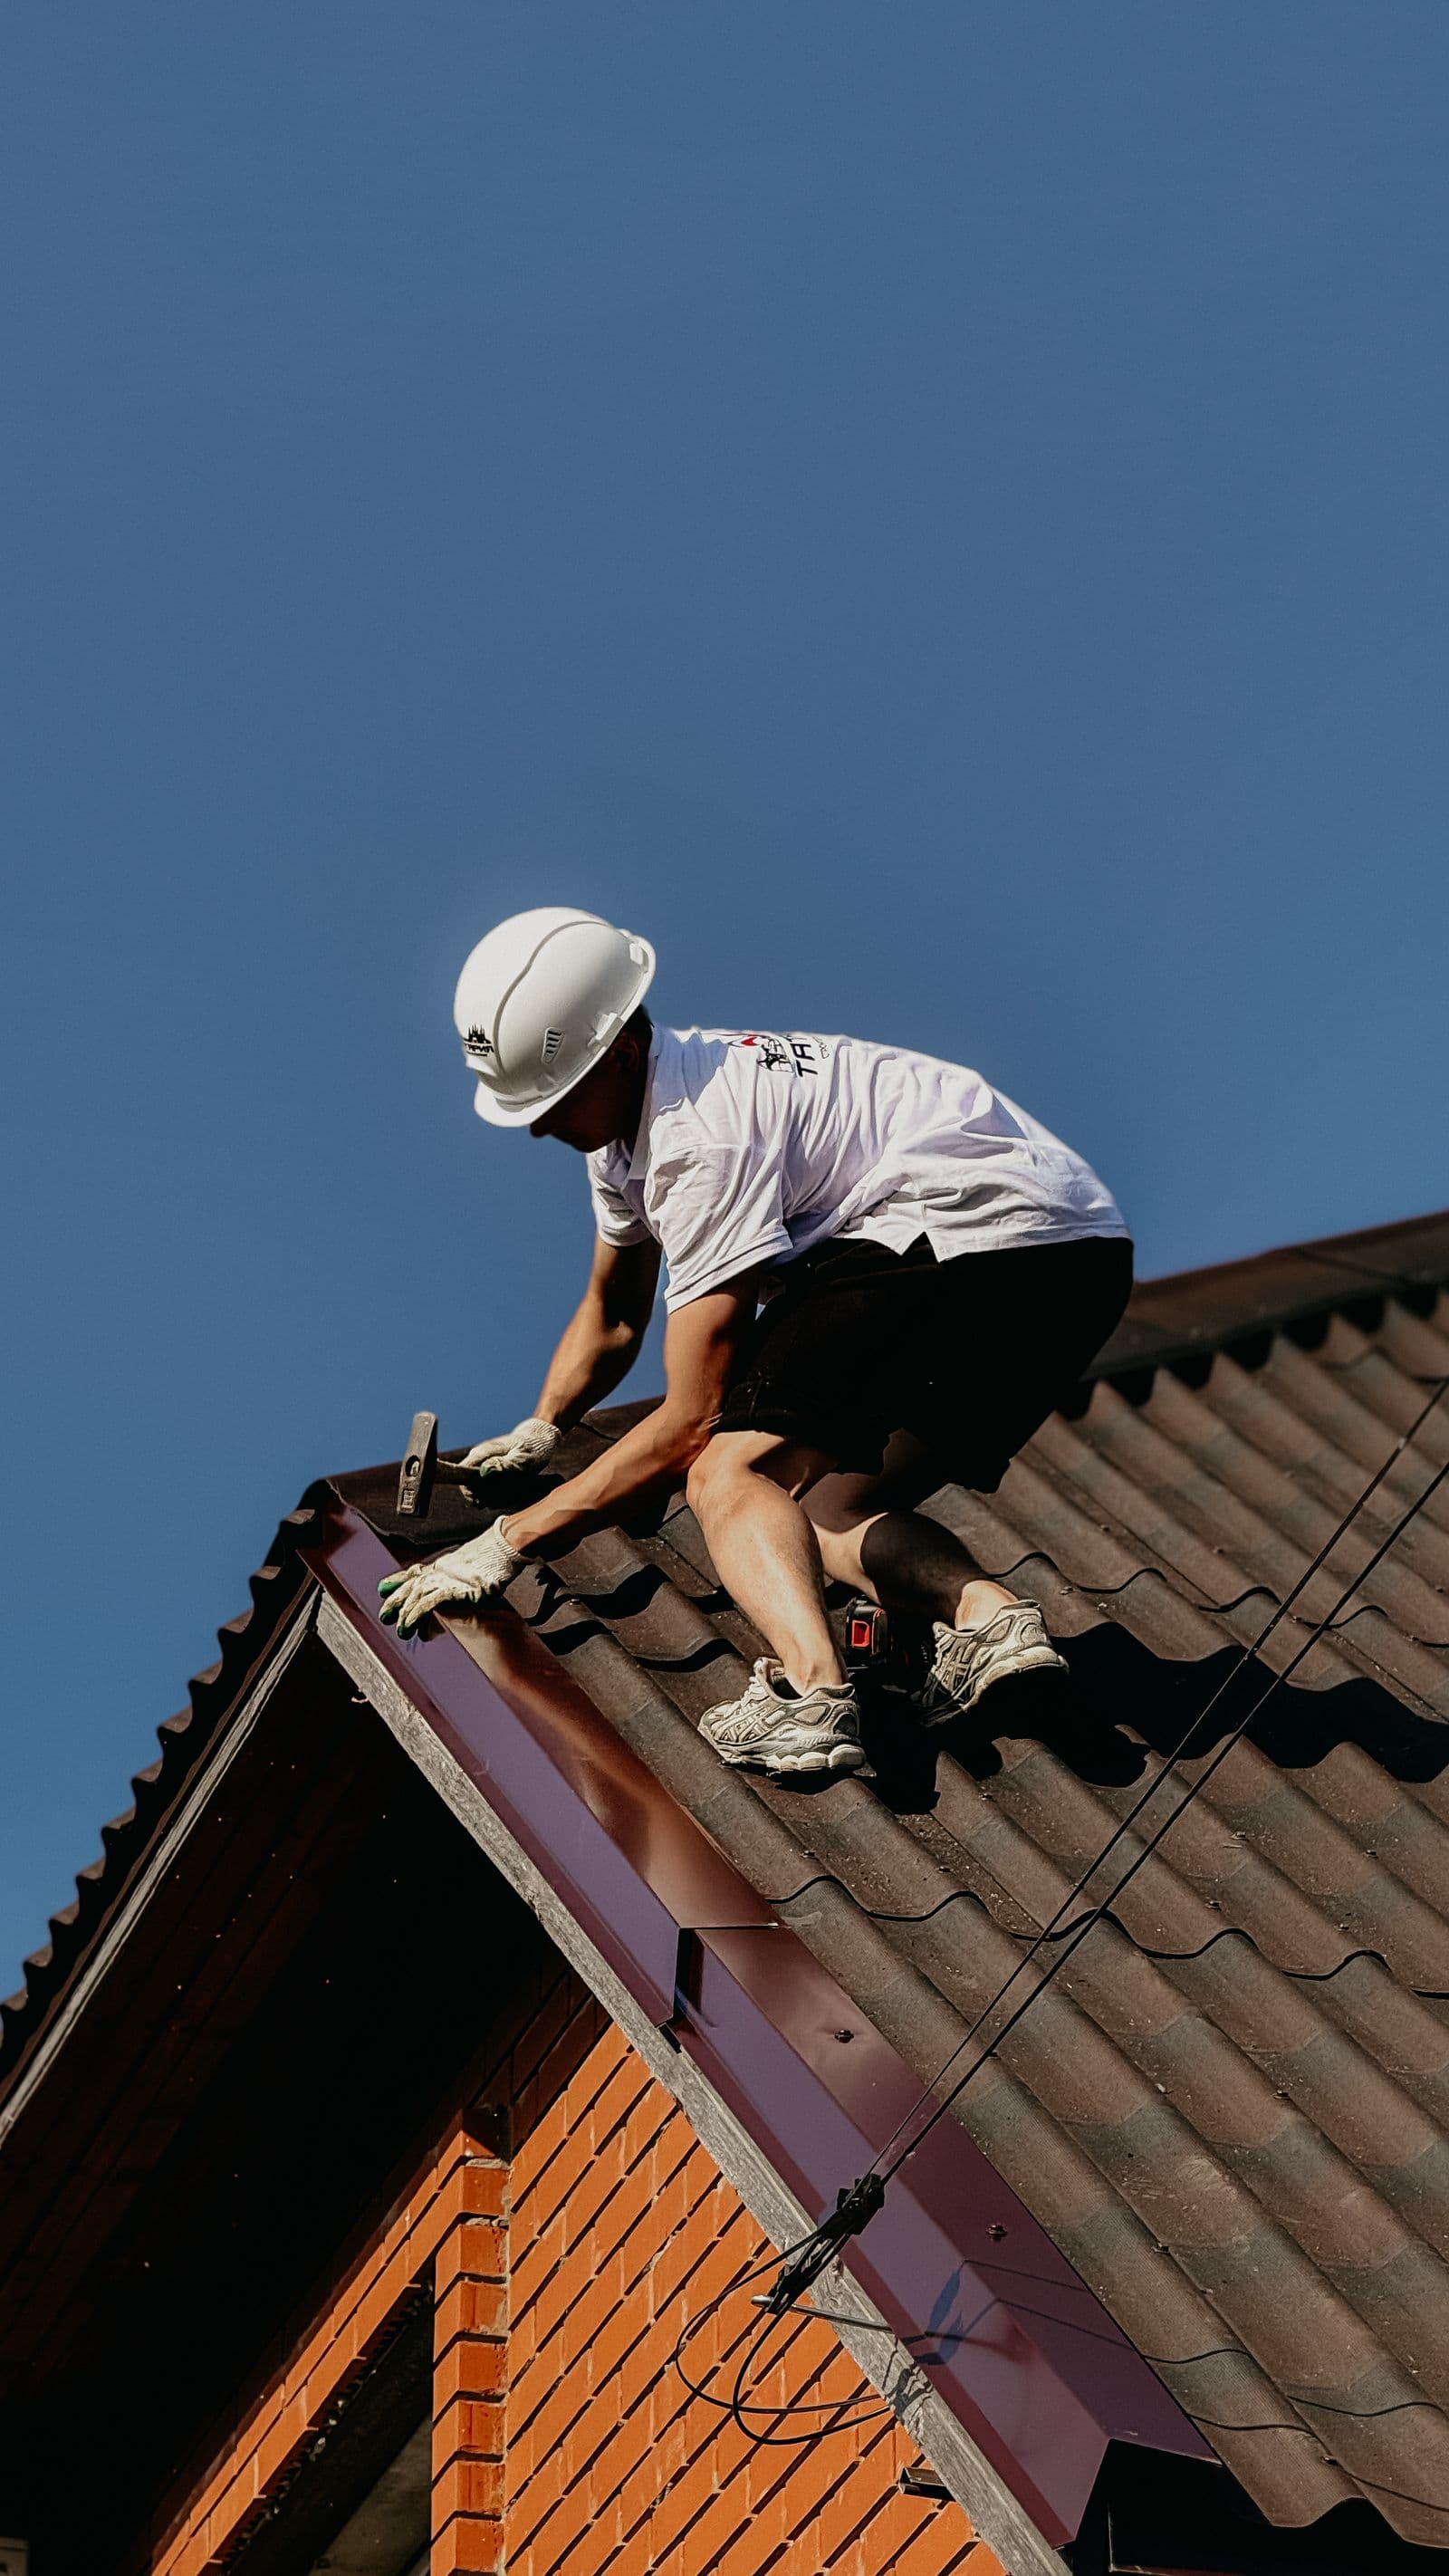
Why good chimney masonry hinges on Florida know-how
There is no single spec that works for every Florida chimney, because the real divide here is coastal versus inland. A salt-battered coastal chimney in Naples on the Gulf, or a beachfront stack in Fort Lauderdale on the Atlantic Southeast, is a different job than an inland Orlando chimney fighting year-round humidity and pounding summer thunderstorms. On the coasts, airborne chloride from the salt air corrodes mortar joints and any steel hardware; inland, it is humidity that never lets the masonry dry and the wind-driven rain of hurricane and tropical-storm season that forces water into every flaw. A contractor who has not worked in your part of Florida tends to turn out masonry that fails in a handful of years, because the materials or methods were wrong for the setting.
This is exactly what the local-pro model is built to solve. The masonry pro on your job already works in your Florida city and specs to your exposure without being asked — type S mortar (stronger in compression than type N) above the roofline, a vapor-permeable siloxane sealer that lets the masonry breathe moisture out through the humidity, marine-grade stainless flashing where the salt-air coast demands it, and era-matched brick on historic-district homes. The added cost over a generic spec is small; in Florida's salt, humidity, and storms, the gap in how long the work lasts is anything but.
Masonry repair versus masonry restoration — where the line falls
Chimney masonry repair and chimney masonry restoration are cousins, not twins. Repair zeroes in on the specific parts that have failed — dead mortar joints, spalled brick, a cracked section of crown — and brings the chimney back to working order. Restoration aims higher, returning the chimney to its original look and structural condition, usually with period-matched materials and craftsmanship that hews to the era.
Nearly every chimney will need repair somewhere along the way. A narrower group — historic-district homes above all — is better served by restoration than by a standard repair once the deterioration becomes significant. Which way you go comes down to the chimney's age, how much the home's architecture matters, your own feelings about appearance, and the budget you have to work with.
Tuckpointing — the chimney masonry service people call for most
Tuckpointing is the job of grinding the dead mortar out from between the bricks and packing fresh mortar back in, which rebuilds both the structural integrity and the watertight seal of the chimney. Joints give out before the bricks do, and that is by design — the mortar is meant to absorb the wear so the brick does not have to.
For most chimneys, the first tuckpointing comes due somewhere around 25-35 years old. Oceanfront homes can need it sooner, in the 20-25 year range, as salt air wears the mortar down faster, while a mild inland location may push first tuckpointing out to 35-45 years. Whenever it lands, tuckpointing costs far less than the brick replacement you will be facing if the mortar failure is left to march on.
How brick replacement fits into chimney masonry repair
Brick replacement comes into play once individual bricks have spalled — the face flakes away and exposes the porous core — or cracked clean through, or, less often, rotted, which tends to show up only in certain brick types that have drunk in water for years. The fix is to grind out the bad brick, set a matched unit in its place, and re-mortar the joints around it with the right mix.
On older homes, finding a match can be the hard part: brick that predates today's manufacturing does not always have an exact modern equivalent. When that happens, the pro tracks down the nearest match by color, texture, and dimension and, where it can be done, tucks the replacements into less-visible courses to keep the look intact. Homes built from the 1980s onward are easier — standard residential brick is readily available in matching colors and textures.
What makes type S mortar the default for chimney masonry
Type S mortar outpaces the more common type N on compressive strength — 1,800 PSI against 750 PSI — and stands up better to moisture cycling and salt-air corrosion. Those advantages count for the most above the roofline and in Florida's coastal, high-humidity exposure, which is why local pros make type S their go-to for most above-roofline masonry.
Type N still has its place: lower masonry, where the structural stress and the exposure are both lighter. Pros use it below the roofline, and on some historic restorations where the original called for type N and matching the original is what matters most. Either way, the estimate document records which mix goes in which part of the job.
Hiring a chimney masonry contractor — what to look for
Bringing on a chimney masonry contractor is not the same as hiring a general mason. Florida chimneys fail in particular ways — salt air eating the mortar on the coasts, wind-pressure cycling and wind-driven rain in hurricane season, humidity-driven spalling inland — and a general masonry contractor will not necessarily have those patterns down. What you want is a chimney specialist with a documented track record on chimneys in your part of Florida, not just broad masonry experience.
Four questions cut through it. How long has the company done chimney masonry specifically, as opposed to general masonry? Which mortar do you default to for cap-and-crown work — above the roofline the right answer is type S? What sealer goes on the masonry — the right answer is a vapor-permeable siloxane, not an impermeable elastomeric? And what workmanship warranty do you put in writing on the finished job? Every local pro we send has a straight answer to all four.
Plenty of general masons can do chimney work competently, yet turn out results that fail early because the materials and methods were tuned to the wrong conditions. That mismatch usually surfaces around year 3-5, when the wrong-spec masonry starts to go. Work from a chimney masonry specialist, by contrast, typically holds for 25-30 years before the next major intervention.
Masonry restoration on historic-district homes
Restoring masonry on a historic-district home asks for material sourcing and craftsmanship that a standard repair never touches. The brick is matched to the original era as closely as the available stock will allow; the mortar is color-matched to the original, confirmed by testing a sample on a small hidden patch before the whole job goes forward; and the joint profile is shaped to the original style.
That work runs 20-40% longer than a standard masonry repair, because matching the materials and taking the chimney apart with care — saving the reusable original brick for the less-visible courses — simply cannot be hurried. A job that would take 3 days on an ordinary home often stretches to 5-7 days on a registered-historic property, and the scope reflects it, sitting 20-40% above the standard price for comparable work.
What you end up with is a chimney that reads as period-correct, runs safely, and keeps the home's historic character intact — and, among buyers who prize historic-district authenticity, often a bump in resale value. Where a standard repair patches the problem, restoration brings back the original character of the structure.
Permits and inspections on chimney masonry work
The bigger masonry jobs — a crown rebuild, a full chimney rebuild, a comprehensive restoration — call for a building permit from the local department, while spot tuckpointing, a single-brick swap, or a sealer application generally do not. Your estimate notes whether your particular scope needs one, and the local pro already knows how the rules read in your jurisdiction.
For the jobs that require it, the pro pulls the permit for you, books the inspections it triggers — typically a rough-in while the work is underway and a final once it is finished — and turns over all the paperwork when the project wraps. That cycle adds 3-5 business days to the schedule, but on legitimate chimney masonry work it is not negotiable. Any contractor offering to skip it to save a little time or money is setting the homeowner up for code-violation citations, denied insurance claims, and trouble at the sale of the home.
Chimney brick — what every homeowner should understand about the types
Chimney brick is the structural building block that every masonry chimney is made from, and the type in your chimney dictates how long it will last, how often it needs maintenance, and which repair methods apply once damage shows up. Florida's housing stock runs the gamut of residential brick eras — soft, early-fired brick in pre-war frame cottages on the First Coast and in older Tampa Bay neighborhoods, better-fired post-war brick from the 1940s and 1950s, standardized residential brick from the 1970s and 1980s, and engineered brick from the 2000s onward — alongside the stucco and concrete-block (CBS) construction that dominates so much of the state.
Every one of those eras fails in its own way, with the chimney's Florida exposure setting the clock. The soft pre-war brick spalls — its face flakes off — within 60-80 years of hard exposure, and faster still on the salt-air coasts of the Atlantic Southeast, the Gulf Southwest, and the Keys. The harder 1940s-1950s brick outlasts its mortar, so the joints give way first and tuckpointing, not brick replacement, is usually the right call. The standardized 1970s-1980s brick is tough, but the cap and crown hardware above it tends to fail ahead of the brick — humidity and wind-driven rain corrode it — sometimes letting water down to damage the brick below.
Checking the brick is part of every annual inspection. The inspector looks over its condition, flags any brick that has spalled, cracked, or rotted, and works out whether it is the brick itself or only the surrounding mortar that needs attention. The pro then walks you through a simple grade for the brick: like new (nothing to do), good (revisit at the next inspection), worn (tuckpointing or spot brick repair advised inside 12-18 months), or failing (brick replacement required).
How the brick gets replaced depends on its era and type. On historic-district homes, the pro sources matched units so the original architectural look survives; for standard residential brick, the pro pulls close color and texture matches from current manufacturer stock. The procedure is the same either way — grind out the damaged brick, set a matched unit in its place, and re-mortar the joints around it with the appropriate mix, type S above the roofline and type N lower down.
Chimney cracked — what causes the cracks and when they call for repair
Chimney cracked is one of the searches homeowners run most, and what sits behind it covers a lot of ground — anywhere from a hairline cosmetic crack that only wants watching to a structural through-crack that has to be repaired right away before the damage spreads. So the first move in any assessment is sorting the crack into a category. A hairline cosmetic crack (under 1mm, holding steady, no water getting in) is usually left as-is or sealed for looks. A hairline structural crack (still under 1mm, but paired with water staining, failing joints, or growth over time) needs monitoring and, eventually, repair. Anything 1mm or wider almost always needs active repair, and the wider it runs the more urgent that becomes.
Most cracking traces back to one of four causes. The first is thermal cycling: the chimney swells as a fire heats it and shrinks as it cools, and decades of that open microcracks along the line of greatest stress. The second is foundation settlement, where even mild movement under the chimney — common over Florida's sandy and high-water-table soils — loads the masonry above until it cracks. The third is water intrusion, the workhorse cause in Florida: the state's year-round humidity and wind-driven rain soak the masonry and saturate it from the inside, while in the Panhandle, the one part of Florida that sees occasional genuine hard freezes, that trapped water can expand as it freezes and split the brick or mortar. The fourth is wind load, when hurricanes and tropical storms stress the chimney hard enough to open cracks that were not there before.
The repair scope follows the crack's pattern and its cause. A hairline thermal crack is usually handled with a flexible sealant at the next annual maintenance visit. A foundation-settlement crack calls for a structural assessment first, then a scope that depends on whether the foundation itself needs work. A water-intrusion crack takes two fixes — the visible crack and the source of the water behind it. And a storm wind-load crack may fall under your homeowner policy as hurricane or windstorm damage, so it is worth checking with your own carrier; the pro writes up a clear scope and estimate to help you start that conversation.
Spotted a crack and not sure how serious it is? Book an assessment and the pro will categorize the crack and write a free quote for the matching repair scope. Non-urgent assessments get same-day scheduling; a wide structural crack that looks like it is still moving gets same-day dispatch.
Stucco chimney repair — the issues with stucco chimneys and how to fix them
Stucco chimney repair is a specialized corner of chimney repair, reserved for homes whose chimney exteriors are clad in stucco — and in Florida that is most of them, since stucco over concrete-block (CBS) is the dominant residential build style in the state. Stucco chimneys break down differently than brick or block ones. The patterns to watch for are cracking, spalling where the stucco surface flakes away, delamination where the stucco lifts off the substrate behind it, and water finding its way in through any of those surface failures. Each one calls for its own remedy.
Florida's environment is what drives most stucco chimney repair. Salt-laden coastal air on the Atlantic Southeast, the Gulf Southwest, and the Keys wears stucco coatings down faster than inland air does; year-round humidity keeps the substrate from drying out between rains; intense summer thunderstorms and hurricane-season squalls drive water into stucco cracks under pressure; and in the Panhandle the occasional hard freeze can crack a saturated surface. Put it all together and an exposed Florida stucco chimney typically wants a surface assessment every 3-5 years and active repair every 8-12, depending on how good the original stucco was and how faithfully it has been maintained.
The scope usually sorts into four tiers. Tier 1 is cosmetic surface work — sealing hairline cracks and patching small spalled spots. Tier 2 is moderate repair — fixing larger spalled sections and dealing with delamination on a face or two. Tier 3 is a full resurfacing — stripping the stucco back to the substrate and laying down a new stucco system finished with an elastomeric topcoat. Tier 4 is structural repair, for cases where stucco failure has let water in and damaged the substrate or the masonry behind it; when the trigger is a storm, homeowner insurance often covers part of it.
If your chimney chase is stucco — as most Florida chimneys are — call for an in-home stucco assessment. The pro looks over the current condition of the stucco, settles on the right repair tier, and writes a free quote with materials and labor broken out line by line. Every Tier 3 quote builds in an exposure-rated elastomeric topcoat because harsh conditions make it indispensable — your local pro will not quote a resurfacing without one.

