
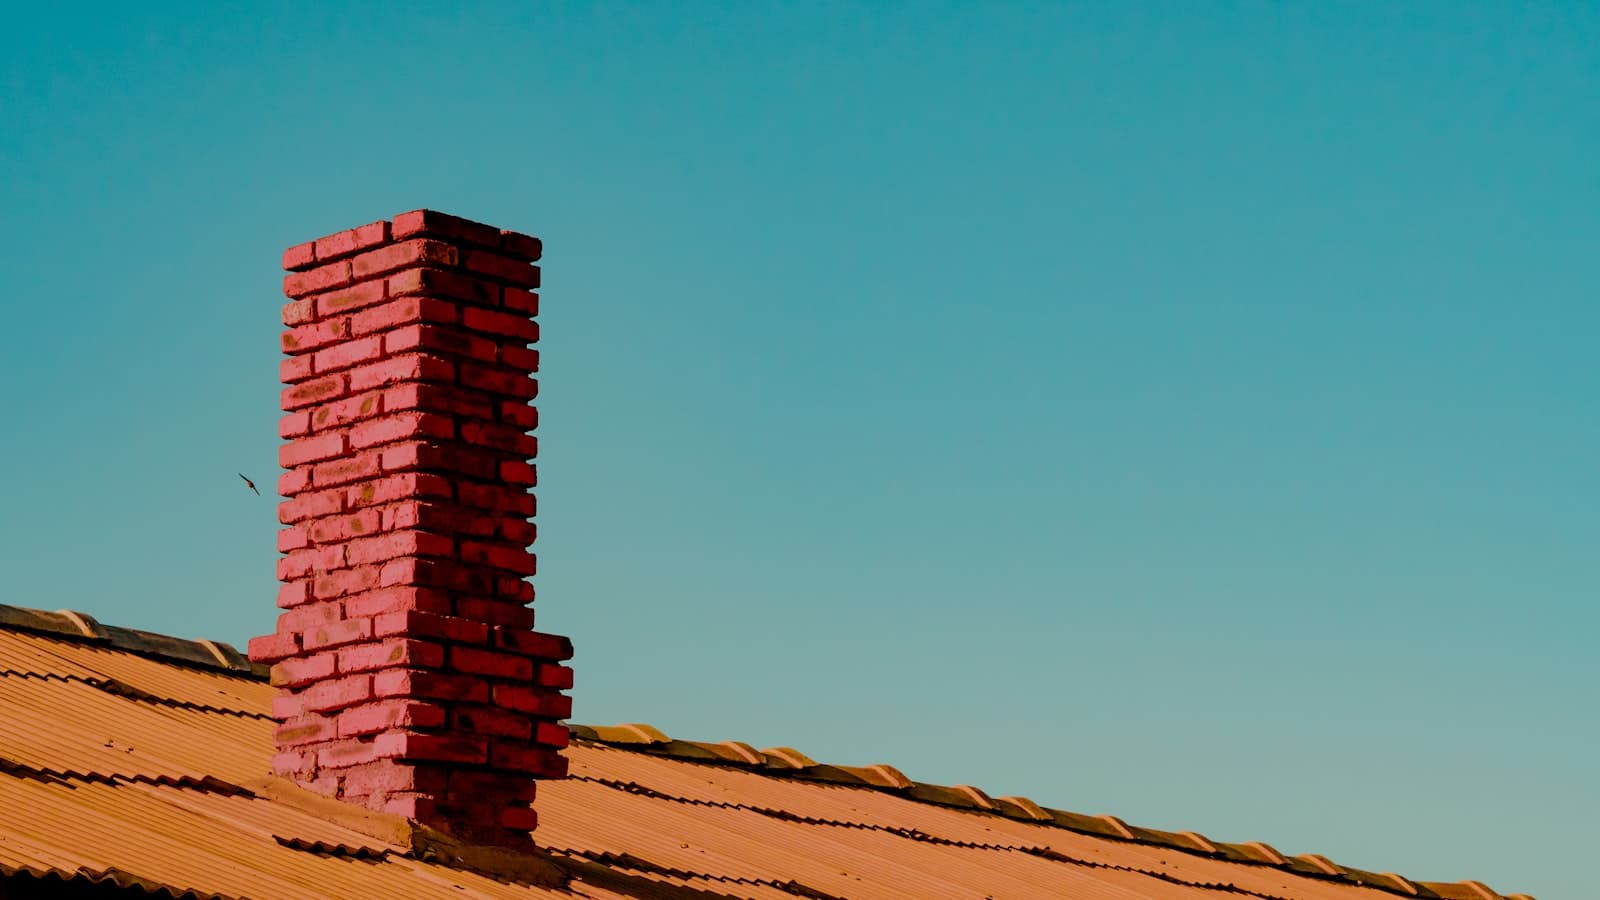

A chimney is a stack of parts that have to shed rain, move combustion gases, and stay sealed where masonry meets the roof. In Florida, humidity, salt air, and storm wind wear those parts faster than many homeowners expect—especially on idle flues that sit unused for months.
This guide names 20 components you can learn from the ground or with a technician on site. It is educational, not a remote diagnosis. When something looks wrong, the next step is a free estimate visit and a written quote for the failed part. Call (754) 328-2421.
Chimney Repair Service is a family-owned, insured Florida chimney company. We diagnose on site and quote in writing before repair work.
Chimney anatomy: 20 parts
1. Chimney cap
The cap sits over the flue opening. It limits rain, debris, and animal entry when sized and secured correctly. Florida storm wind can bend mesh, lift straps, or throw a light cap off entirely—see hurricane chimney repair and cap installation.
2. Top flue tile (or flue opening)
The uppermost clay tile or metal liner opening must stay intact and aligned under the cap. Cracked or shifted top tiles let water and animals into the flue path. Coastal salt and impact from storm debris make this a common post-storm check.
3. Drip edge (crown edge / wash)
The outer edge of the crown should shed water outward, not back into masonry. A flat or inward-sloping edge holds ponding rain—Florida’s heavy showers exploit that quickly.
4. Chimney crown
The crown is the slab (often concrete) covering the top of the masonry, with openings for the flue(s). Hairline cracks wick humidity; larger cracks channel storm water into brick and liner joints. See crown repair.
5. Liner joint (tile-to-tile or liner seams)
Where flue tiles or liner sections meet, joints must stay sealed. Failed joints let heat and gases attack the surrounding masonry and can hide until a camera scan. Relining questions belong on an inspection visit—not a DIY patch.
6. Chimney liner
The liner is the inner pathway that contains combustion gases. Clay tile, stainless, or cast systems each fail differently (cracks, corrosion, wrong sizing). Florida humidity inside idle flues still matters; damaged liners are a safety issue before the next fire.
7. Brick joints (mortar joints)
Mortar between bricks should be sound and tooled. Recessed, sandy, or missing mortar lets rain drive into the wall—Florida humidity then drives efflorescence and spalling. Tuckpointing addresses joints; flaking brick faces are a larger masonry scope. See chimney masonry.
8. Chimney flashing
Flashing is the metal system at the roof–chimney joint (base, step, and counter flashing overlapping correctly). A tar smear is not a lasting lap. Stains beside the stack often start here—see flashing repair and leak vs roof leak.
9. Cricket (saddle)
A cricket is a peaked diverter on the uphill side of a wider chimney that routes water around the stack. Missing or failed crickets let debris and rain pond against the back wall—common on older Florida roofs with wide chimneys.
10. Smoke chamber
Above the damper, the smoke chamber funnels smoke into the flue. Rough or unparged chambers collect creosote and can leak smoke into living space. Problems here usually need interior access and a trained eye—not a ground-only look.
11. Creosote (deposit, not a “part”—but a critical condition)
Creosote is the combustible residue from wood burning. Even occasional Florida fires can leave glaze in unused months of humidity. Stage and texture change sweep difficulty; never ignore a heavy build-up before lighting again. Link: chimney sweep.
12. Cleanout / access door
A cleanout gives access to ash and debris at the base of the flue or ash pit. Rusted, warped, or missing doors leak smell and ash into living or crawl space and block proper cleaning.
13. Shoulders (smoke-chamber / throat shoulders)
The shoulders transition from the firebox opening toward the smoke chamber. Cracked or poorly formed shoulders affect draft and smoke spillage. They are inspected from the firebox side during a proper visit.
14. Lintel
The lintel is the support (often steel or masonry) over the fireplace opening. Rusted steel lintels expand and crack surrounding masonry—Florida moisture accelerates that rust. Cracks above the opening deserve an on-site look before they spread.
15. Damper
The damper opens and closes the flue path. A stuck, warped, or missing damper wastes conditioned air and can let rain or animals farther into the system. Test gently; do not force a seized damper from below if you feel resistance.
16. Firebox seams and joints
Firebrick and mortar joints in the firebox must contain heat. Open joints, crumbled brick, or gaps at the smoke chamber invite heat and smoke into surrounding structure. Gas units have different firebox rules—say the fuel when you call.
17. Clearances (to combustibles)
Required distances between hot chimney/fireplace parts and wood framing, mantel, or finishes. Clearance failures are often invisible until renovation or a Level 2/3 look. Do not frame or finish against a chimney without confirming clearances.
18. Ash dump
Some fireboxes include an ash dump door that drops ash to a pit below. Failed doors or blocked pits leave ash in the firebox and can hide moisture or animal nesting below.
19. Furnace / appliance cleanout (or appliance connection access)
Where a furnace, water heater, or other appliance ties into a chimney, cleanouts and connectors must stay intact and correctly sized. Florida homes sometimes share or abandon flues after HVAC changes—wrong connectors are a carbon-monoxide risk. Inspection scopes this on site.
20. Chase cover (framed / prefab lid — Florida-critical)
Many Florida homes use a framed chase with a metal lid (chase cover) instead of a full masonry crown. Rust holes and lifted edges send water down the chase—often misread as a “roof leak.” See chase cover repair. Treat this as the twentieth “part” homeowners must recognize even when the stack is not brick.
When to call
Call (754) 328-2421 when you notice any of the following:
Process: free estimate visit → we name the failed part → written quote before repair.
- Water in the firebox, ceiling stain beside the stack, or rust streaks on a chase after rain
- Missing, tilted, or storm-bent cap; cracked crown; open mortar; lifted flashing
- Smoke smell from an idle flue, heavy creosote concerns, or a damper that will not close
- Scratching, nesting, or birds at the flue — do not light a fire (animal removal)
- After a hurricane or tropical storm (hurricane chimney repair)
- Before buying/selling a home with a fireplace, or before the first cool-evening fire of the season (inspection)
How to read your chimney from the ground (Florida)
A safe, ground-level look for obvious chimney clues before a professional inspection.
Total time: about 10–15 minutes
- Stand back on solid ground. Do not climb a wet roof or lean a ladder in wind.
- Look at the very top. Note if a cap is present, tilted, missing mesh, or if the crown shows obvious cracks or missing edges.
- Scan the chase or brick. Rust streaks down framed siding often point to the chase cover; open or sandy mortar points to masonry joints.
- Check the roof joint from a safe angle. Look for lifted metal, tar blobs, or stained shingles right beside the stack—clues for flashing, not a final diagnosis.
- Indoors, after rain. Note water in the firebox, damp smell, or a stain on the ceiling beside the chimney.
- Write what you saw + your ZIP. Call (754) 328-2421 for a free estimate visit and written quote. Stay off the roof; do not treat ground clues as a repair plan.
Know the part—or just know something looks wrong. Schedule a free estimate visit and get a written quote before any repair. Call (754) 328-2421.