Proudly American
Our Work

Project Gallery

See the quality craftsmanship that makes Chimney Repair Service the trusted choice for homeowners in your area.

Project Gallery
Family-OwnedFree EstimatesUpfront PricingSame-Day

Get a Free Estimate

Takes about 30 seconds.

No images yet

Photos will be added soon. Check back later!

Free
Written Estimates
24/7
Emergency Line
100%
Vetted Local Crews
Same-Day
Scheduling Available

Ready for Your Project?

Let us show you what your chimney can look like.

What the chimney gallery shows

The gallery on this page is a visual record of chimney work — before-and-after pairs of cap installations, crown rebuilds, masonry restoration, flashing repair, and full chimney rebuilds. The pairs are shown the way the work actually unfolds — the starting condition first, then the finished chimney after the crew wraps up.

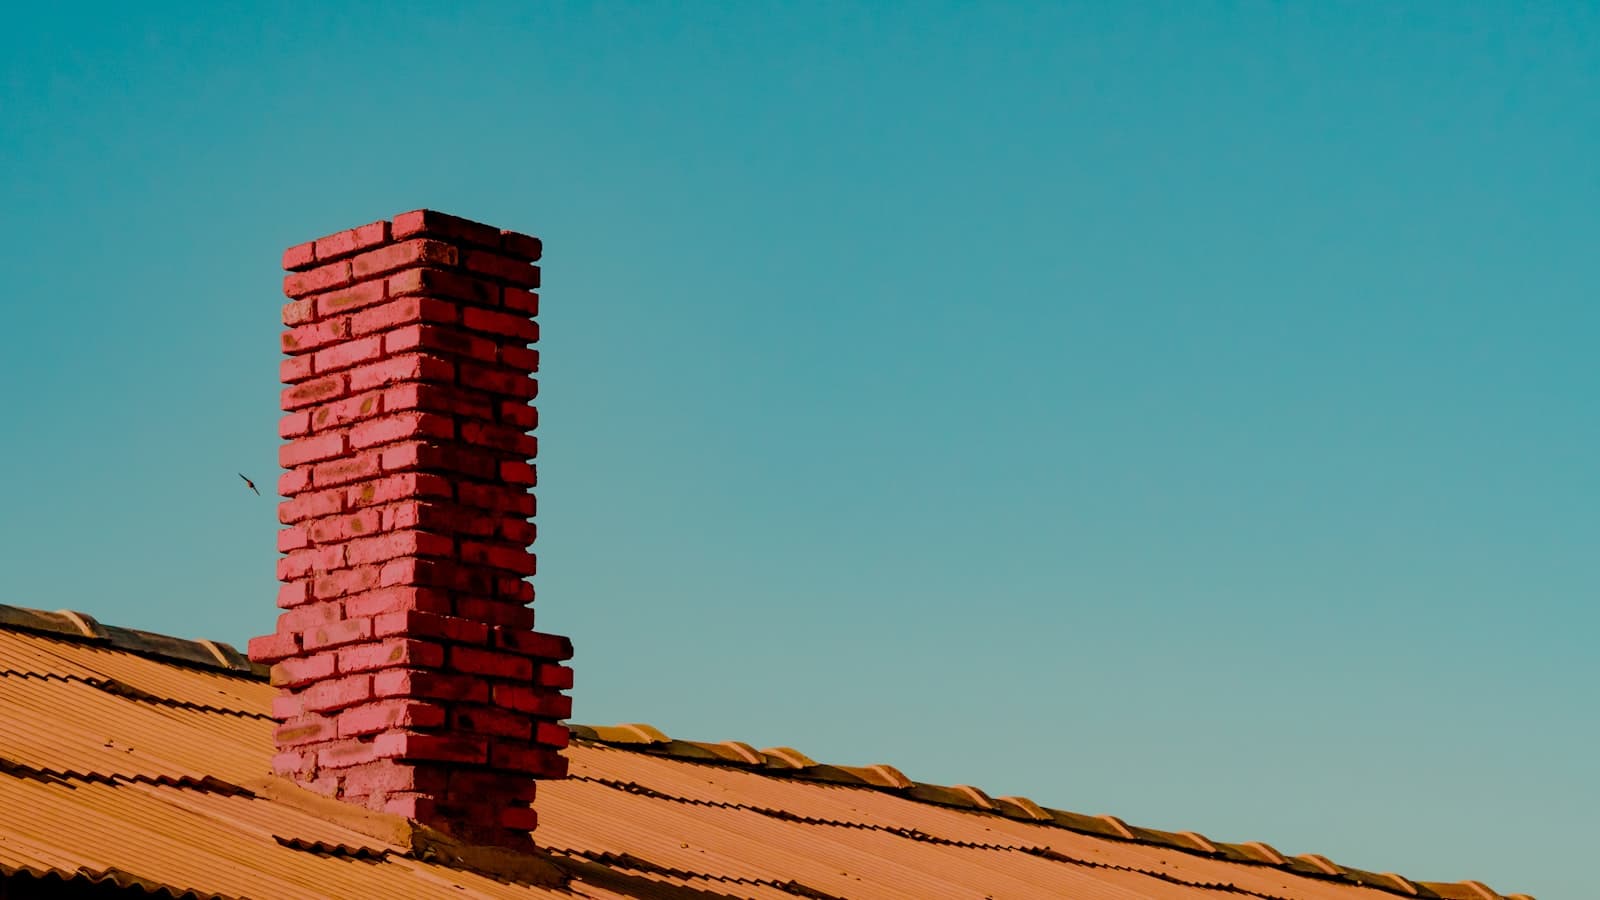
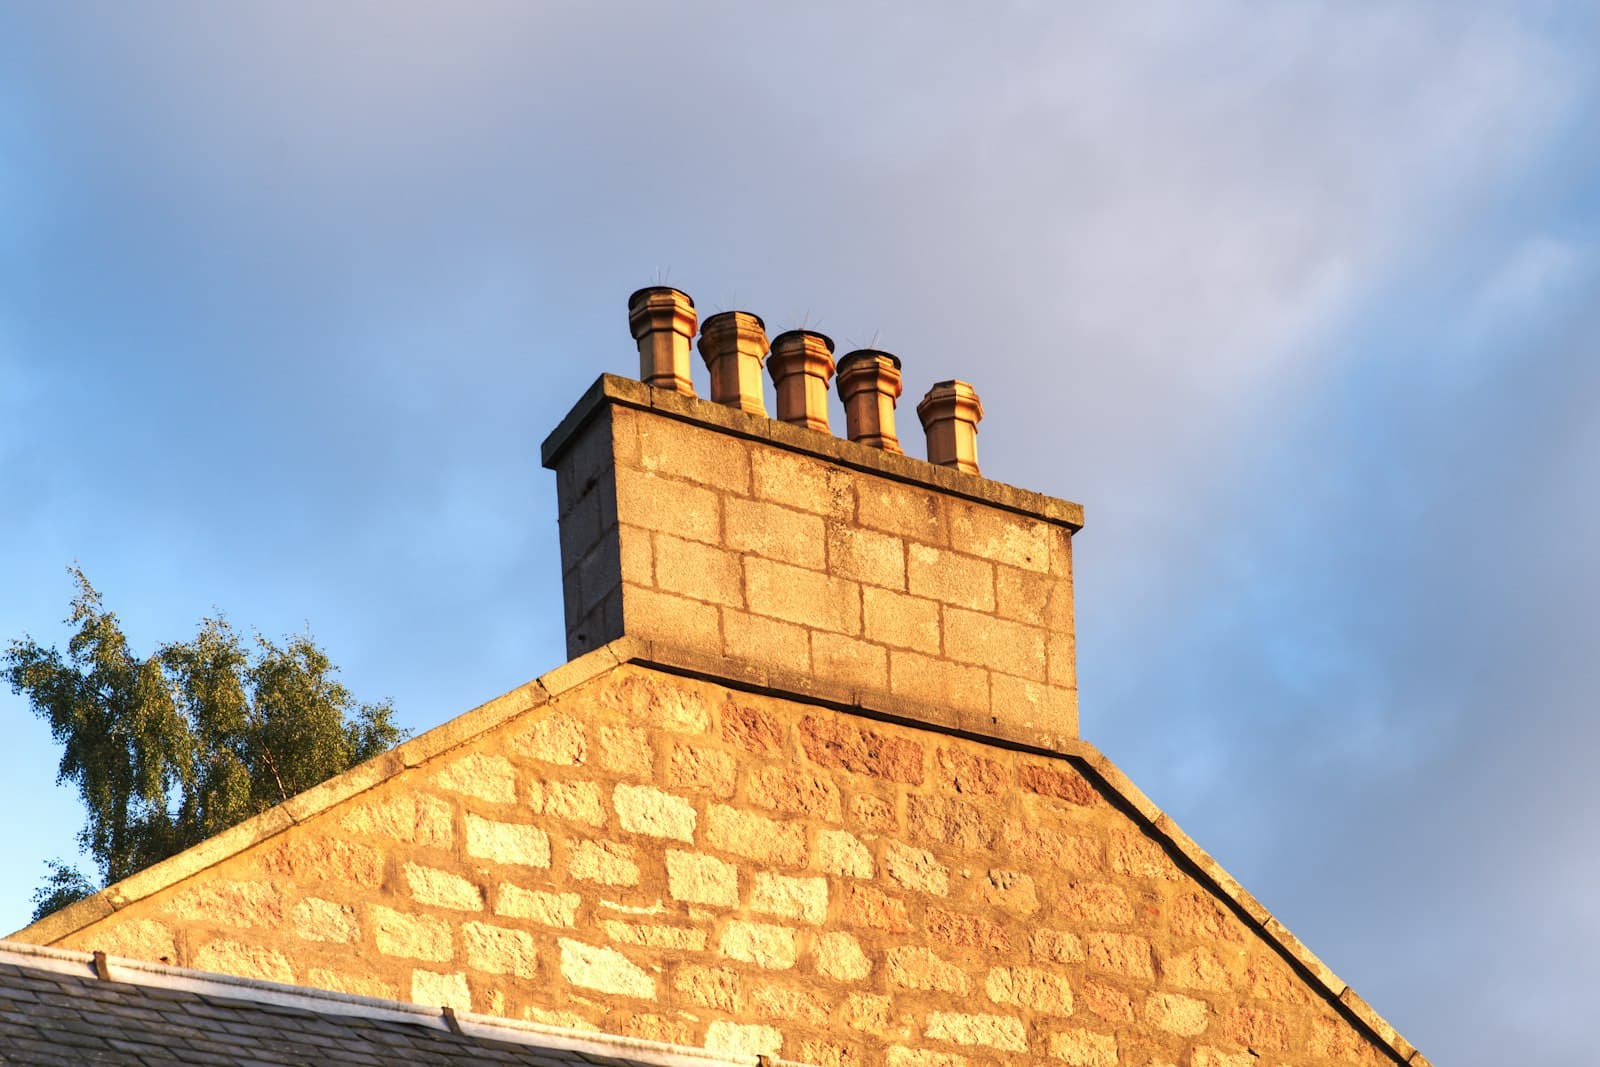
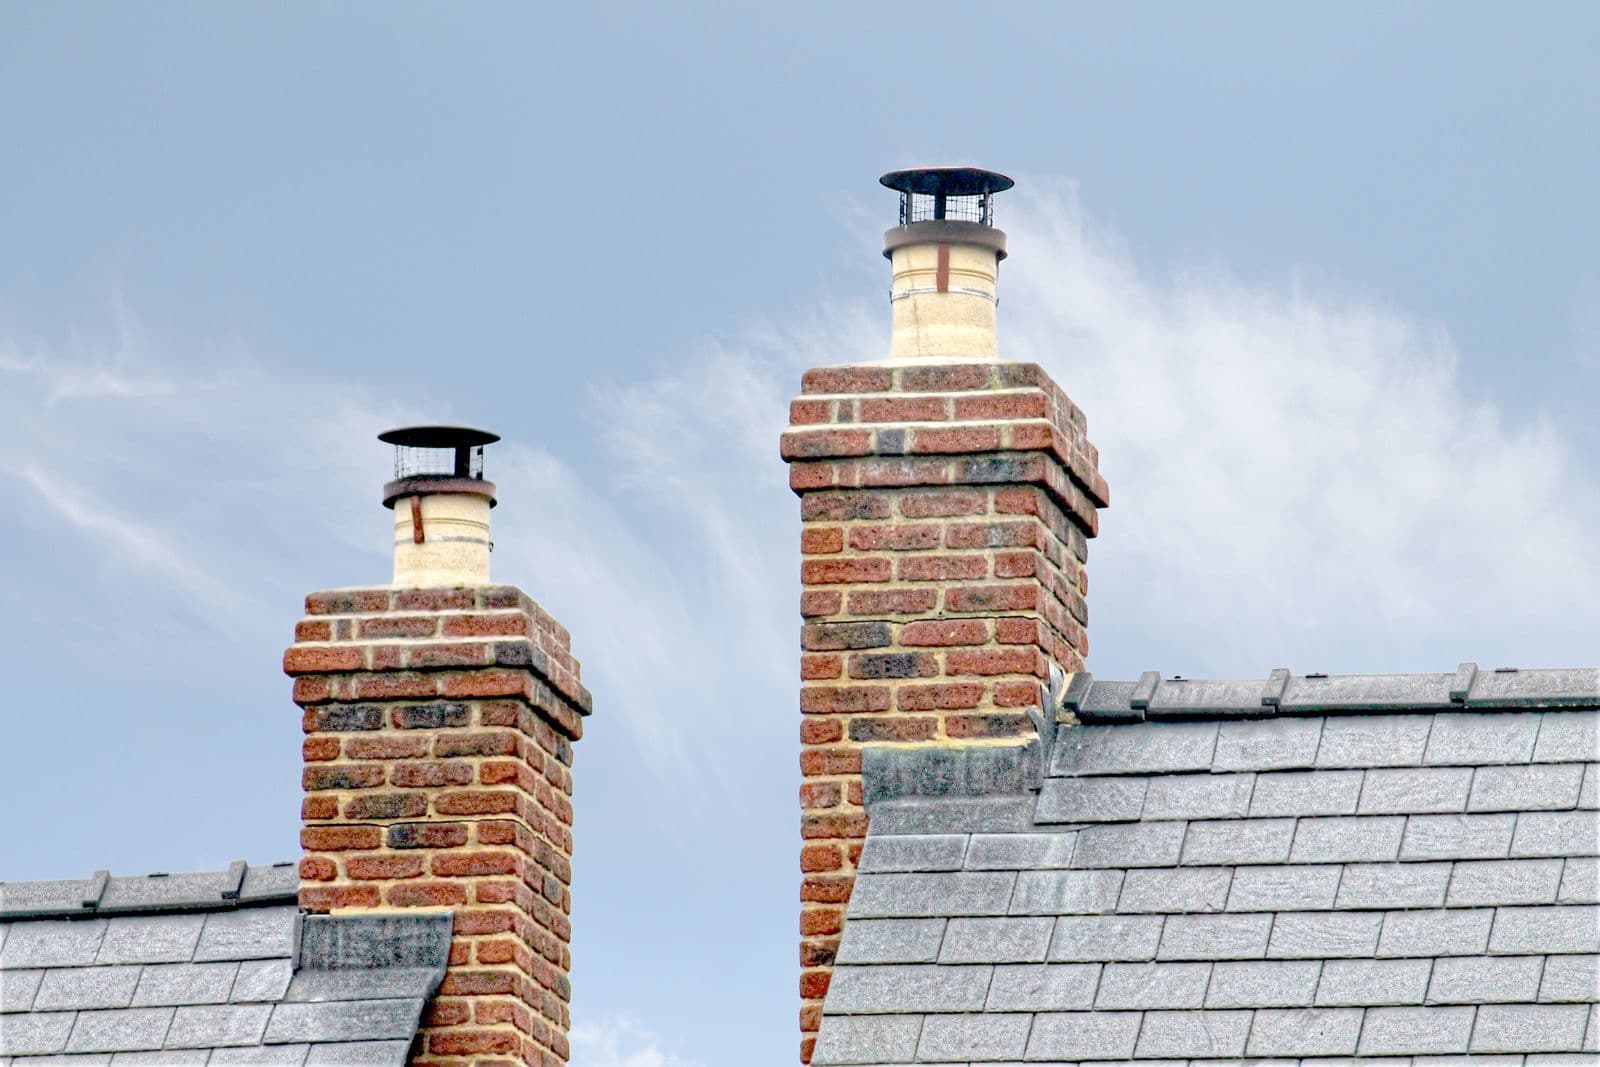
Cap and crown work is one of the most common categories in the gallery, because it is one of the most common reasons homeowners call us. On the Atlantic Southeast and Gulf Southwest coasts, salt-air chloride corrosion shortens cap and crown life and streaks rust down the brick within a few seasons; inland through Central Florida and Tampa Bay, year-round humidity and the daily summer thunderstorms keep masonry damp and feed crown cracking, while up in the Panhandle the occasional genuine hard freeze adds an extra stress most of the state never sees. The before photographs typically show rusted or hurricane-damaged caps, cracked and weathered crowns, and bricks under the crown showing early water damage. The after photographs show the new climate-appropriate cap — 316 marine-grade stainless for the salt-exposed coasts, heavy-gauge stainless or copper for inland and Panhandle homes — the rebuilt crown with fresh mortar, and masonry treated with vapor-permeable sealer.

Masonry restoration projects often look more dramatic in the before-and-after pairing than other categories because masonry damage is so visible. On Florida's stucco and concrete-block (CBS) homes, the brick or block chase above the tile or shingle roofline takes the worst of the weather, and a salt-battered coastal chimney in Naples is a different job than an inland Orlando chimney fighting humidity and summer storms. Spalled brick faces, recessed mortar joints, missing units near the top of the chase, and hairline cracks running through the upper courses develop slowly under years of humidity, wind-driven rain, and salt exposure, then become impossible to ignore. The after photographs show what proper tuckpointing, brick replacement matched to the original era, and reapplied vapor-permeable sealer accomplish on the same chimney. The transformation is real and the work is meant to last another twenty-five-plus years.

How homeowners use the gallery to decide

Most people who land on the gallery are at the research stage, trying to figure out what their own chimney problem looks like and what the path to fixing it is. The gallery is organized so that browsing the project categories surfaces the visual pattern that most likely matches what you are seeing on your own chimney. Once you find a project that looks similar to yours, the natural next step is to read what was done, what materials were used, and what kind of scope it represents.

We are deliberate about not pinning a price to individual gallery items, because cost varies meaningfully with chimney height, access difficulty, the exact materials chosen, and the surrounding scope bundled into the same visit. A cap replacement on a single-story home with easy roof access is far cheaper than the same cap on a three-story home with a steep tile roof. The right way to get a price for your specific chimney is to request a free estimate, not to extrapolate from a gallery item that may not be comparable to your situation.

The gallery is refreshed regularly with recent projects, and the most recently completed work tends to appear toward the top of each category section. If it looks like a while since the last update, it usually means the crews have been heads-down on jobs — the work is happening, it just takes a beat to get the photographs cropped and labeled for publication.

Project categories visible in the gallery

Cap and crown projects are among the most-represented and cover everything from straightforward single-flue cap replacement to full multi-flue cap installations with custom rain diverters. The materials notes tell you whether the cap is 316 marine-grade stainless (recommended for salt-exposed coastal homes on the Atlantic Southeast, Gulf Southwest, Space and Treasure Coast, and the Keys), copper (a premium choice for historic neighborhoods), or heavy-gauge stainless for inland homes across Central Florida, Tampa Bay, the First Coast, and the Panhandle. For crown work, the description specifies whether it was a complete rebuild from the existing brick down to the flue tiles or a less-invasive crown coat over the existing structure.

Masonry restoration projects span the full range from minor tuckpointing of a few hairline joints to substantial rebuilds of the upper several feet of a chase. Each description specifies how many brick courses were affected, what mortar mix was used (type N for most above-the-roofline work, type S where additional structural strength was needed), and whether the work was followed by a vapor-permeable sealer treatment. Larger masonry restorations can take several days of two-person crew work when deterioration runs deep in the upper courses of the chase.

Flashing projects in the gallery show the chimney-to-roof interface before and after counter-flashing replacement. The before photographs typically show the failure mode — peeled-back step flashing, separated counter flashing, visible gaps where water enters; the after photographs show fresh metal step flashing woven into the roof courses with new counter flashing tucked into a re-cut mortar joint. Flashing work is one of the most under-appreciated parts of chimney maintenance because the failure is hidden from ground view, and one of the highest-impact items a crew performs when it is needed.

Why gallery photographs matter for hiring

When evaluating a chimney contractor, looking at their actual completed work is usually more informative than reading their marketing copy. A portfolio shows what materials a crew actually uses (versus what they say they use), how they finish edges and joints (the small details that separate a professional from a journeyman), and what kinds of chimneys they have experience with (a residential cap-and-crown specialist is not the same trade as an industrial commercial flue specialist). Spend a few minutes looking at any contractor's gallery before deciding who to hire.

Specific things to look for in chimney gallery photographs: clean, even mortar joints on masonry work (consistent depth and profile, no smearing on adjacent brick faces); flush, well-fitted caps with no visible gaps to the chimney top (a cap that does not fit properly invites water and animals); flashing that is woven into the roof rather than just caulked on top (the latter is a leak waiting to happen); and overall workmanship that looks like the crew took pride in appearance, not just function. Chimney work that looks good is usually chimney work that lasts.

If a contractor cannot show you a gallery of recent projects, that is a meaningful signal. Either they have not been operating long enough to have a portfolio (which is fine but worth knowing), or they are not proud of their work, or they are exaggerating their experience. The serious chimney companies all maintain visible portfolios. Ours is on this page; compare it against anyone else you are considering — the differences in quality are easy to spot even without a construction background.

Reading chimney photographs the way a professional reads them

When a chimney professional looks at the gallery photographs on this page, they are reading specific signals that tell them what was done and how well. The same photographs are mostly opaque to a homeowner without that training, but a few principles transfer easily and make the gallery more useful to non-specialists. The first principle is consistency: in a well-executed job, the same detail repeats correctly across all visible surfaces. Mortar joints all the same depth, all the same profile, all the same color. Brick replacements matched to the original era and texture, not modern brick stuck into an old chase. Caps that sit flush and square on the chimney top, not skewed or perched.

The second principle is what is NOT visible in the after photographs. A good chimney installation leaves no debris on the roof, no mortar smears on adjacent surfaces, no exposed unfinished edges, and no obvious patches where the crew took a shortcut. The before-and-after pairing makes the absence of these problems more obvious because the contrast against the before photograph is sharp. A gallery photograph where the after still shows construction debris is not a portfolio piece; it is a documentation failure.

The third principle is honest framing. Photographs taken at flattering angles with controlled lighting can make almost any chimney work look better than it is in person. The most credible portfolio photographs are taken in normal daylight from the angles a homeowner would actually see the work — from ground level, from a typical viewing distance, with no editing of the surrounding scene. Our gallery aims for this style; some portfolios elsewhere use heavily styled and color-corrected photographs that look impressive online but do not match how the work actually looks at the property.

Common chimney before-and-afters explained

One of the most common before-and-after patterns is the cap replacement: a heavily corroded or storm-damaged cap, replaced with a climate-appropriate stainless or copper cap that should last fifteen-plus years. The before photograph shows obvious rust staining streaking down the upper bricks, holes in the cap mesh where animals have likely been in the flue, and deteriorated fasteners that are no longer holding the cap securely. The after shows a clean, properly fitted cap with new fasteners and a clean chimney top below it.

Crown rebuilds are another common pattern. The before photograph shows a cracked existing crown — sometimes one large crack running the length of the crown, sometimes a spiderweb of smaller cracks, often with vegetation growing in the wider ones (a sign that water has been pooling and feeding seeds for some time). The after shows the new crown poured over fresh mortar, sloped to shed water away from the flue, and treated with a vapor-permeable sealer that lets the crown breathe out construction moisture while keeping liquid water from re-entering.

Full chase rebuilds are the most dramatic before-and-afters. The before shows a chimney chase with multiple courses of failed brick — missing units, severely spalled units, mortar joints recessed to the point of visible gaps from twenty feet away. The after shows the same chase rebuilt from below the roofline up, with brick matched to the original era as closely as available stock allows. These projects take days to complete and represent the high-skill end of the chimney trade; the gallery includes a few of them with extended descriptions of the work scope.

Frequently Asked Questions

Gallery FAQs — common questions

What does the gallery show?
The gallery is a service-by-service look at how chimney work comes together — what a starting condition looks like and what a finished job should look like. Ask the pro on your visit to walk you through comparable recent work for your type of job.
Can I see chimney work from my area?
Ask the pro on your visit — they can walk you through comparable recent work in your area when it is available for your type of job.
Can I see before-and-after chimney photos of specific services?
Yes. The gallery is organized by service category — cap installation, crown repair, masonry restoration, flashing repair, full chimney rebuilds — so you can browse before-and-after pairs of the specific service you are considering. Each project includes a brief description of the scope, the materials used, and the typical service-life expectation.
How recent are the chimney gallery photos?
The gallery is refreshed regularly with recent projects. The most recently completed work appears toward the top of each category section. Some longstanding projects remain in the gallery as a reference for craftsmanship style even after several years; those are noted with the original project date.
Can I ask about past chimney work at my address?
Yes. If we have served your address before, call with the service address and approximate date of the work, and we can tell you what was done on that visit. Keeping a record of past chimney maintenance is useful for real estate transactions and for tracking the home maintenance history over time.
Will I see the state of my own chimney before and after the work?
Yes. The pro walks you through the chimney before the work starts and again when it wraps, so you see the change for yourself on every job.
Can I see a photo of the specific chimney cap or component you would install?
Yes. During the in-home estimate visit, the technician shows you photographs of the exact cap, crown configuration, flashing kit, or other component that would be installed on your chimney. The estimate document includes a materials specification with manufacturer and model details. Nothing about the installation is a surprise — you see what you are getting before you sign off.