
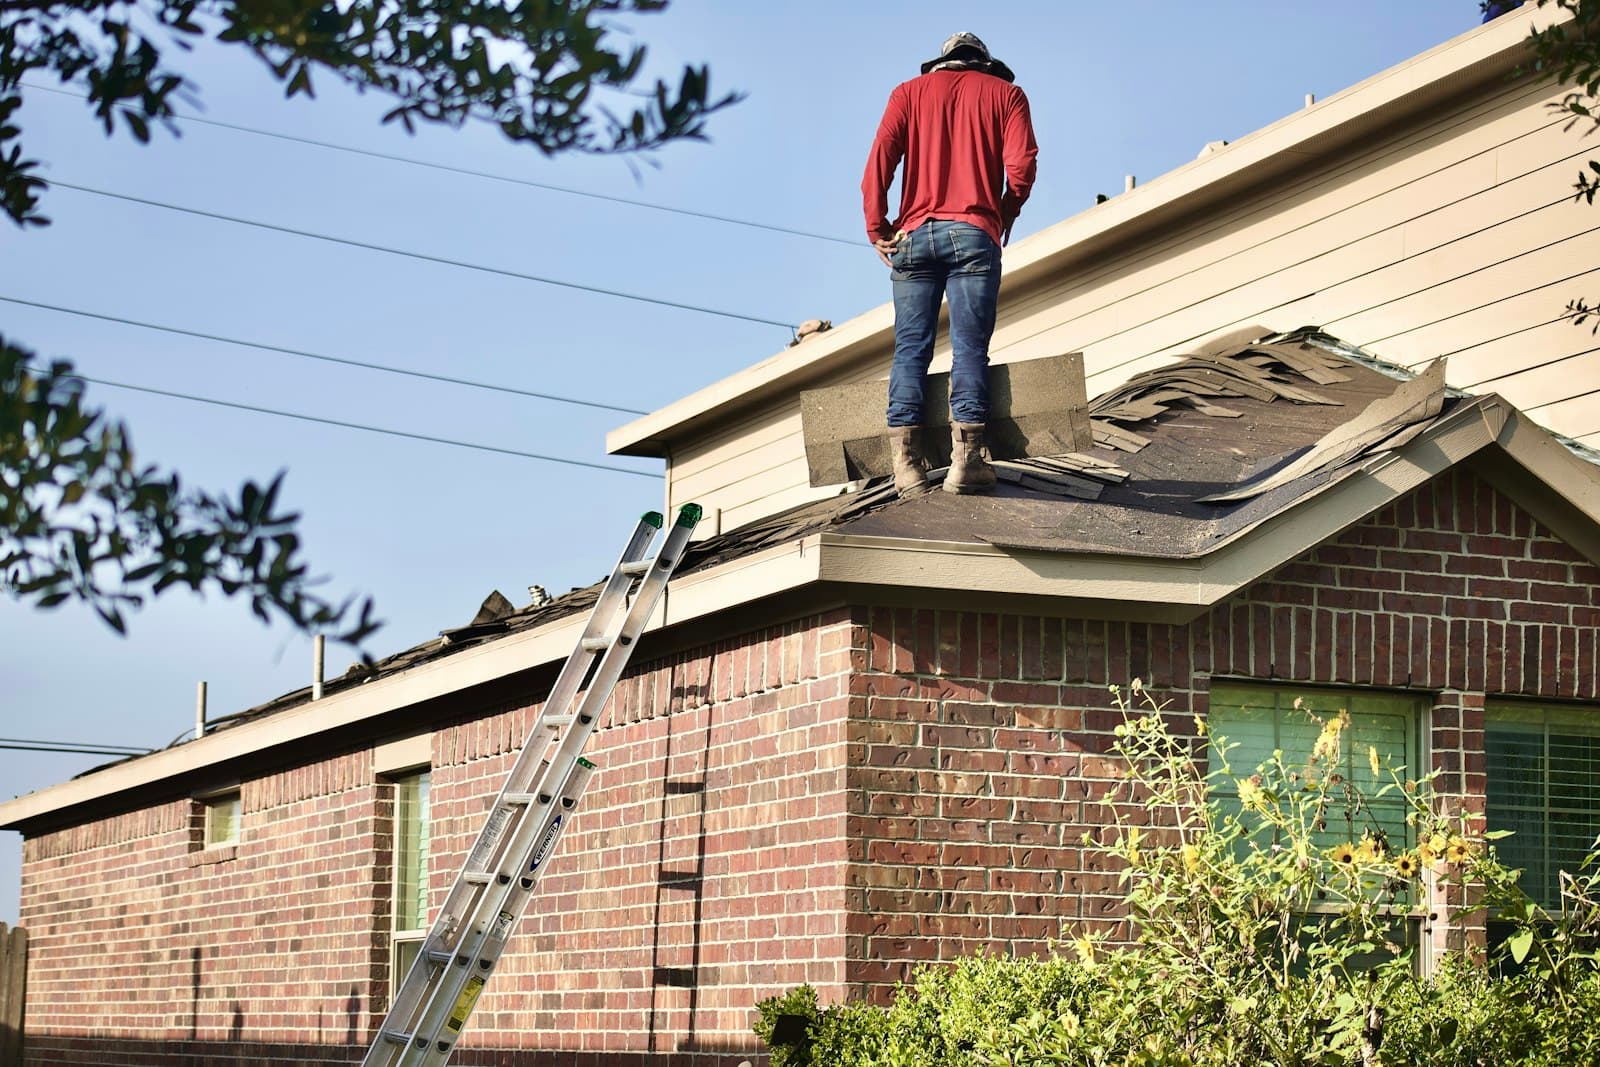

A leak is a symptom, not a diagnosis
If you are reading this with a wet patch on the ceiling and rain still coming down, here is the short version: the chimney has at least five separate ways to let water in, they produce very similar stains, and they are repaired in completely different ways by different means. "The chimney leaks" is a location, not a cause. The whole job between now and a dry ceiling is working out which of those five doors the water is using, because sealing the wrong one costs money and leaves the leak exactly where it was.
Florida makes that harder than it sounds, and for a specific reason. Almost every waterproofing detail on a chimney is designed on the assumption that rain falls downward. Flashing laps, crown overhangs, cap edges and mortar joints all shed vertical water well. A thunderstorm gust front or a tropical band does not deliver rain vertically: it drives it sideways and upward, under the laps and overhangs that would otherwise shed it, for hours rather than minutes. That is why a chimney can be genuinely watertight in a drizzle and pour water into the ceiling in a squall, and why an intermittent leak can look random when it is not.
The good news is that the five doors leave different fingerprints. Where the water appears, how quickly it appears after the rain starts, whether it stops when the rain stops, and which direction the wind was blowing all narrow the list before anybody climbs a ladder. You can gather most of that yourself, today, from inside the house and from the yard.
The next ten minutes, before anything else
While the water is still active, the priority is limiting damage and capturing evidence. Both are easy, and the evidence part is worth more than most people expect, because the single hardest thing about diagnosing an intermittent leak is that it is almost never leaking when the pro is standing there.
- Put a container under the drip and pull rugs, furniture and electronics out of the path. If the ceiling is bulging or sagging, that is trapped water: keep people out from under it.
- Do not light a fire. A wet flue is not the place for one, and a fire dries the evidence you are about to collect.
- Photograph the stain now, with something in frame for scale, and photograph it again when the rain stops. The difference between those two pictures is a diagnostic clue by itself.
- Write down the time the water first appeared, the time the rain started, and roughly which direction the weather came from. Thirty seconds of notes here saves a lot of guessing later.
- Open the damper and look up into the firebox with a flashlight. Water arriving there is a completely different problem from water on the ceiling, and it is worth knowing which you have.
- Stay off the roof. Wet roofing in wind is how a leak turns into an injury, and there is nothing up there you can usefully see mid-storm anyway.
The five doors water uses to get in
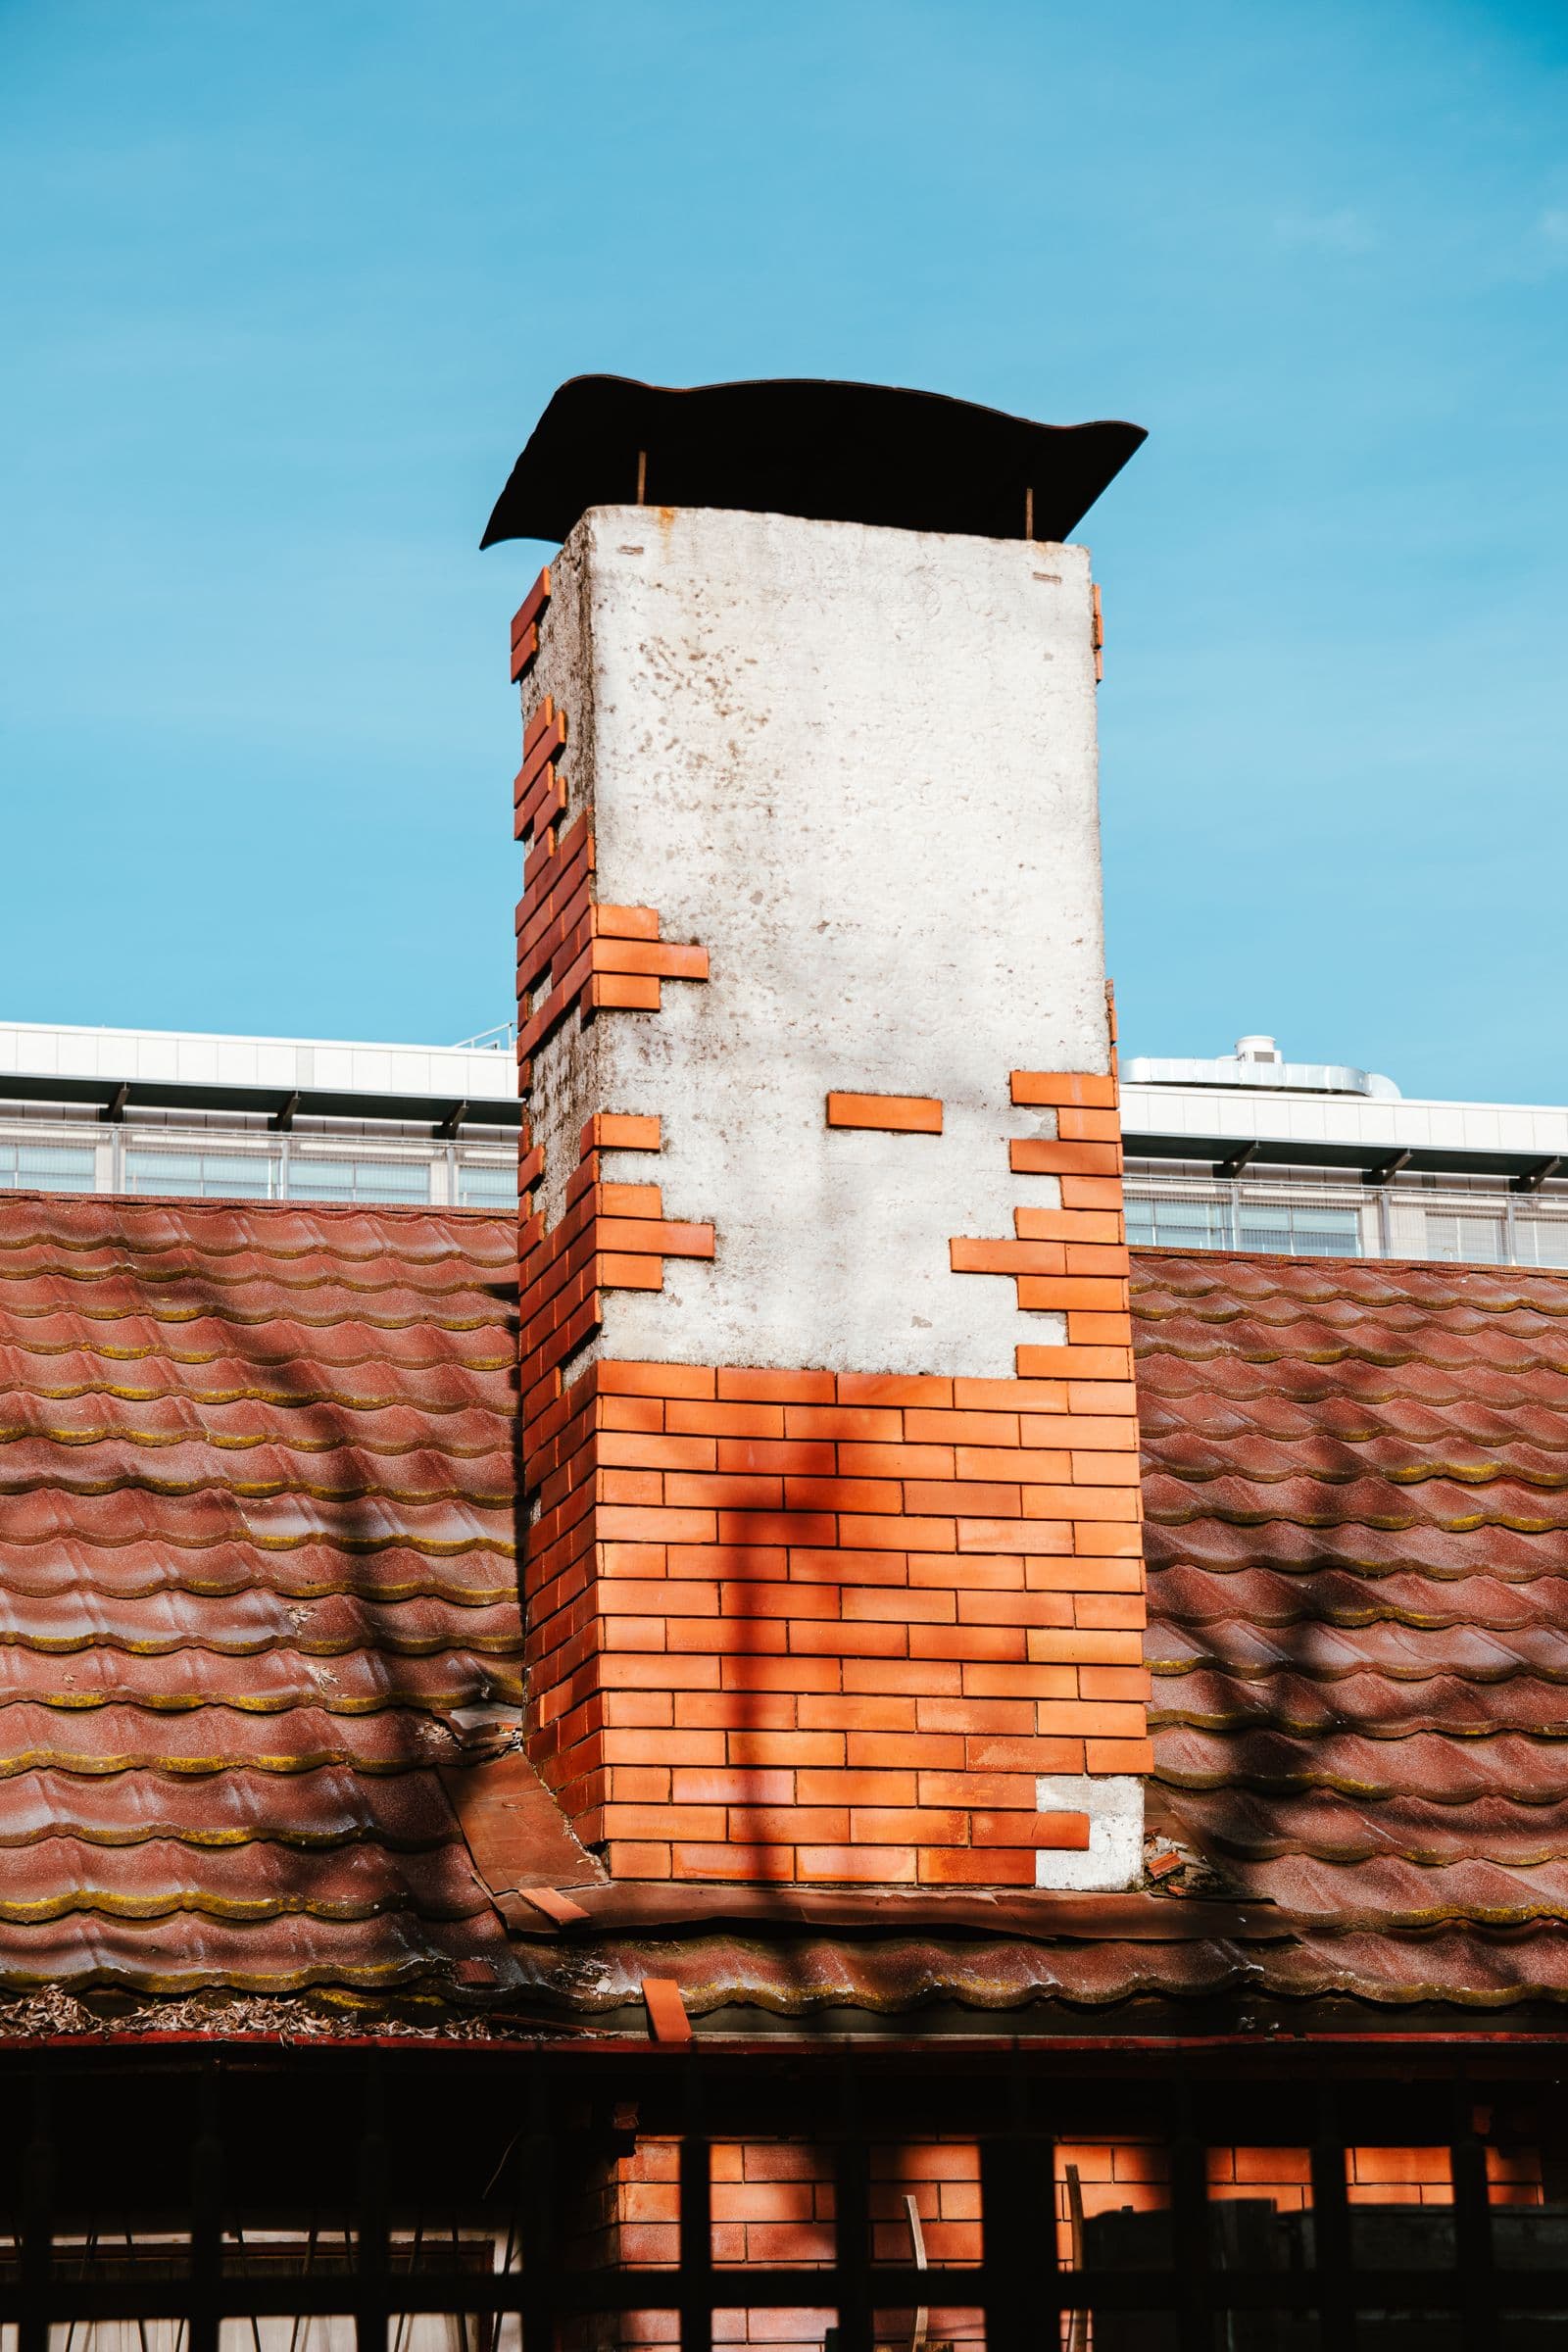
Flashing is the first door. Flashing is the layered metal assembly that seals the joint where the chimney rises through the roof: step flashing woven into the shingle courses, counter flashing lapping down over it and tied into the masonry. It is not one piece and it is not sealant; it is a shingle-style water path built from overlapping metal. When a storm lifts an edge, when the sealant at the top of the counter flashing cooks brittle, or when the mortar joint holding that counter flashing erodes and lets the metal go, water runs straight into the framing below. Flashing failures usually surface as a ceiling stain rather than water in the fireplace, because the water never enters the flue at all.
The crown is the second. The crown is the slab on top of the chimney that sheds rain off the top of the masonry and away from the brick face. A proper one is cast concrete, sloped, with an overhang and a drip edge so water is thrown clear of the wall. A great many are instead a thin smear of mortar troweled flush with the brick, and those crack. Once cracked, every rain feeds water directly into the top of the masonry, where it travels down inside the structure and can surface a long way from where it went in.
The third is the joint where the flue liner passes through the crown. This one is invisible from the ground and it is the one homeowners have almost never heard of. Clay flue tile and concrete crown expand and contract at different rates, so the two materials work against each other and the bond between them opens. Water then runs down the outside of the liner, inside the chimney, past everything you can see. It is meant to be a flexible sealed joint precisely because it has to move.
The fourth is the cap, or the absence of one. An open flue is a hole in the top of your house, and rain falls straight down it into the smoke chamber and firebox, usually with leaves and animals for company. A cap that is present but undersized, damaged, or sitting loose on the flue under its own weight is not much better: a gust will move it, and a cap that has shifted is no longer covering the opening it was cut for.
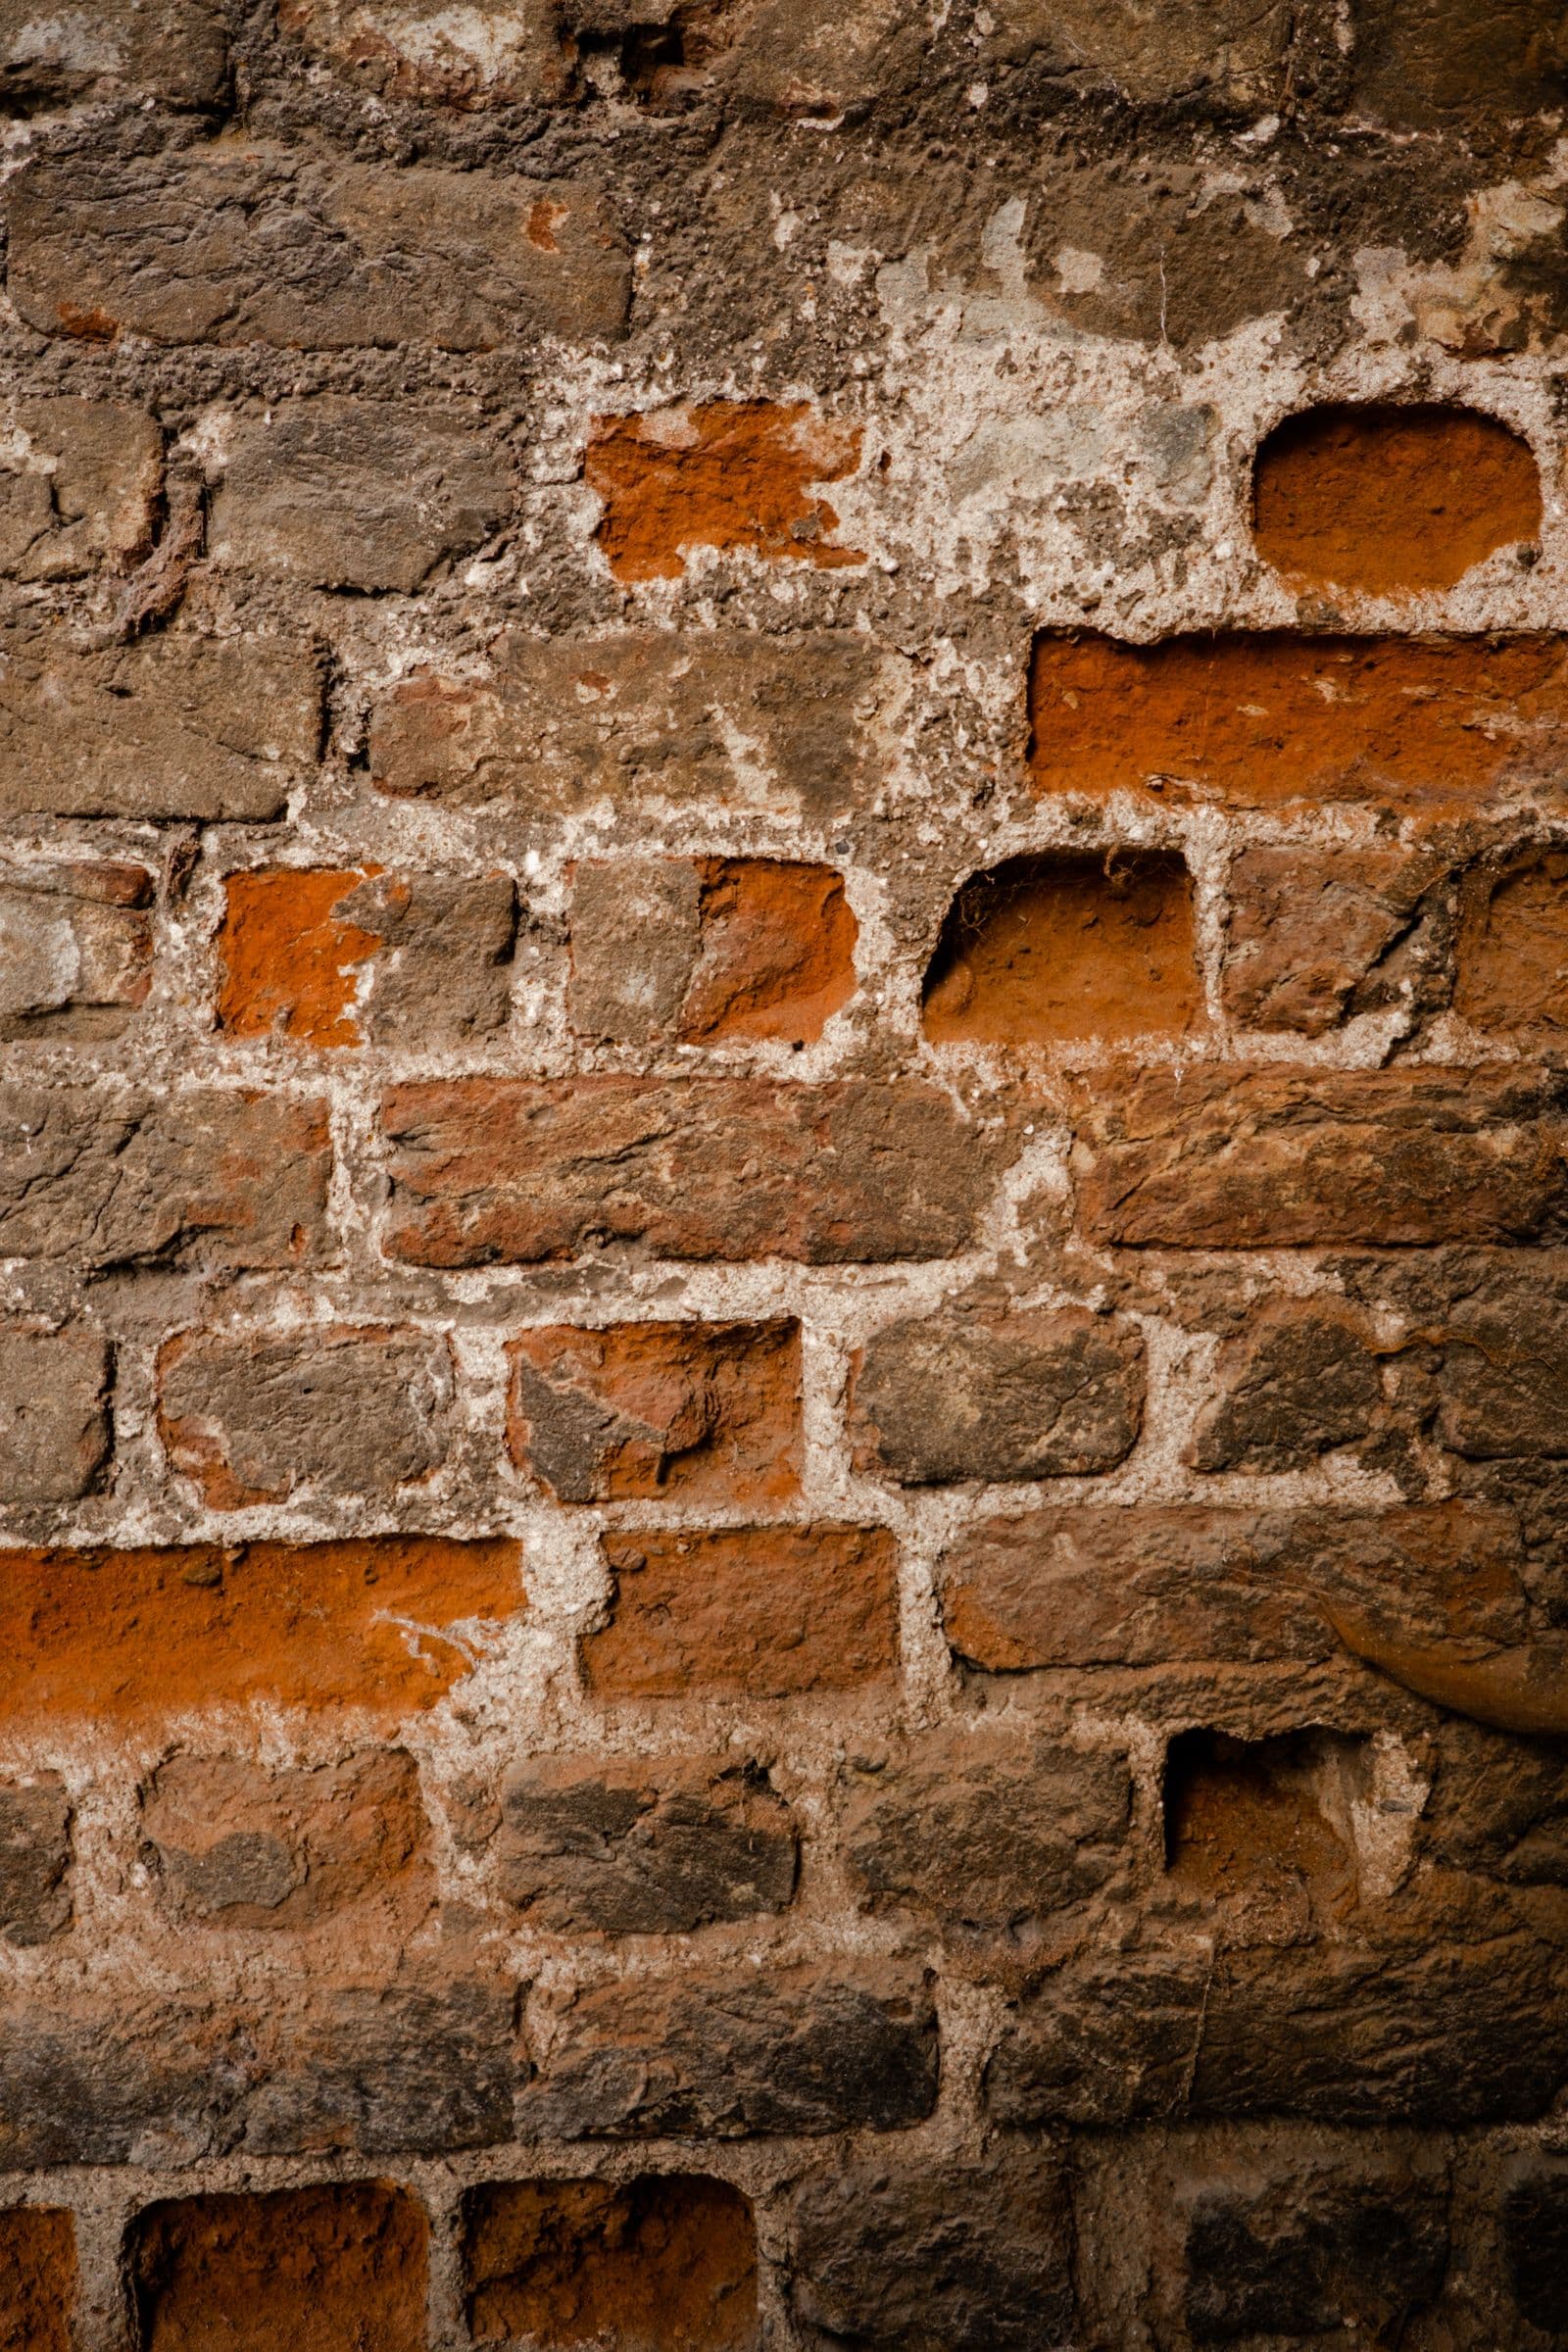
The fifth is the masonry itself. Brick and mortar are porous by design, and years of driven rain and humidity can saturate them until water wicks all the way through with no single visible gap anywhere. This is the subtle one, and it is the one most often misdiagnosed, because there is nothing dramatic to point at. Eroded, receding or missing mortar joints accelerate it enormously: a joint that has lost its face is a channel.
| What you are seeing | Most likely door | What the repair addresses |
|---|---|---|
| Ceiling stain beside or around the chimney, dry firebox | Flashing | Rebuilding the step and counter flashing so the layered water path works again |
| Water in the firebox or on the smoke shelf during rain | Cap, or an open flue | Fitting a correctly sized cap that is mechanically fastened rather than resting in place |
| Water in the firebox during rain with a cap that is present and correctly sized | Crown, or the crown-to-liner joint | Repairing or recasting the crown, and re-forming the flexible joint around the flue |
| Water in the firebox that keeps coming after the rain stops | Masonry that has soaked up water and is releasing it slowly | Finding what is feeding the masonry, usually the crown or open joints, then repointing and a vapor-permeable repellent |
| Damp, dark or stained brick low on the stack, no drip | Saturated masonry or open mortar joints | Repointing the failed joints first, then a vapor-permeable water repellent |
| Rust on the damper, musty smell after storms | Water entering the flue from above | Tracing it to the cap, crown or liner joint rather than treating the damper |
| Stain several feet from the chimney | Anything, including the roof | Tracing the path in the attic before choosing a repair at all |
These are the common patterns, not a rule. Water travels before it drops, and two doors can be open at once, which is why the confirmation step still happens on the roof.
Chimney flashing repair · Chimney crown repair · Chimney cap installation · The crown and the cap are not the same part
Run the diagnosis in this order
Order matters here, because each step either rules a door in or rules several out, and doing them backwards means gathering evidence you have already contaminated. Work from the inside outward and from the bottom up. None of this requires a ladder.
- Start at the firebox. Open the damper, take a flashlight, and look and feel. Damp firebrick, a wet smoke shelf, water beads on the damper plate, rust freckles on the damper, or white mineral streaking on the inside of the firebox all mean water is coming down the flue. That single observation eliminates flashing and eliminates the roof, because neither has a path into the flue.
- Go to the attic next, on a rainy day if you can, with a flashlight. Find where the chimney passes through and look at the framing and the underside of the decking around it. Rust trails on nails, dark tracks on rafters, matted insulation. Then find the highest point of the staining: water runs down, so the top of the stain is upstream of everything below it. Staining that begins at the chimney framing points to the chimney or its flashing. Staining that begins upslope and merely ends at the chimney is a roof problem using the chimney as an exit.
- Read the ceiling stain geometry. A stain hugging the chimney breast, ringing the penetration, or running down the wall the fireplace sits on keeps the chimney on the list. A stain centered well away from the chimney, particularly upslope of it or near a different roof feature, moves the roof up the list. Treat this as a clue and not a verdict, because water walks.
- Now go outside with binoculars and stand back far enough to see the whole stack. Look at the top first: is there a cap, is it sitting square, is it the right size for the opening. Then the crown: visible cracks, a surface that looks flush with the brick rather than overhanging it, vegetation growing out of it. Then the flashing line: metal that is lifted, wrinkled, pulling away from the masonry, or wearing a thick smear of tar. Then the brick: dark patches that stay dark after everything else has dried, white chalky bloom, joints that have receded so far the brick edges stand proud.
- Finally, log the storm. Date, rough wind direction, how hard and how long it rained, and how soon the water appeared. Three entries is usually enough to expose the pattern, and Florida hands you test storms constantly between June and November.
What the white bloom on the brick is telling you · Rain coming down the chimney: what it means
The tell that separates a chimney leak from a roof leak
There are two tells that do most of the work, and they are worth knowing precisely because the two problems produce an identical stain in an identical place and are fixed by different trades.
The first is the flue. Water inside the flue system, in the firebox, on the smoke shelf, on the damper, is chimney evidence and nothing else. A roof leak has no route into a sealed masonry shaft. If the firebox is wet, you can stop wondering about the shingles.
The second is timing, and it separates the chimney doors from each other as well. A leak that drips while the rain falls and stops soon after it stops indicates a direct opening: torn flashing, a failed shingle, a crown crack, an uncapped flue. Water has a short, fast path from sky to ceiling. A stain that appears late in a long storm, or keeps growing the day after, indicates saturation: masonry absorbed the water, held it, and is releasing it slowly into the structure. Roofs rarely weep on a delay. Chimneys do it routinely, and that delayed pattern is one of the most reliable signatures in the whole diagnosis.
Put those together and the geometry clue gets much more useful. A stain hugging the chimney that appears during the rain and stops afterward is a flashing conversation. A stain hugging the chimney that swells a day later is a masonry conversation. Same stain, same place, two different invoices.
Chimney leak or roof leak: the full comparison · Chimney inspection
Why it only leaks in some storms
An intermittent leak is the confusing kind: dry through five rains, then a puddle after the sixth. That inconsistency is a property of the failure rather than a mystery, and it stops being one once wind direction is in the picture. A lifted flashing seam on the west face only takes water when a storm drives rain from the west. An afternoon cell rolling in off the Gulf and a system wrapping in off the Atlantic load completely different faces of the same chimney, and a vertical opening, a gapped mortar joint or a crack on a wall face, can only be fed by rain arriving roughly horizontally.
Duration and volume matter just as much. A saturation leak needs hours of soaking before the water finishes its trip through the masonry, so it shows up late in a long event or the next day, which convinces people the water must be coming from somewhere else entirely. Cap and crown leaks respond immediately to any hard vertical rain. If the leak tracks with intensity, look up top. If it tracks with duration, look at the masonry. If it tracks with direction, look at the face that was into the weather.
This is exactly why the storm log earns its place. Telling a pro "it leaks sometimes" starts them at zero. Telling them "it leaks only when the wind is out of the southwest, about an hour in, and the firebox stays dry" hands them a shortlist of one or two doors and turns the roof visit from a search into a confirmation.
When it is not a leak at all
Three impostors are common enough here to check before paying anyone. The first is condensation. A masonry chimney inside an air-conditioned house is a cool column standing in hot, saturated outdoor air, and moisture will condense on and inside it without a drop of rain getting through. The tell is that the dampness does not track the weather: it shows up on humid days generally rather than after storms specifically.
The second is the air conditioning itself. Attic ductwork with failed insulation sweats, and a clogged condensate drain overflows, and either one produces a ceiling stain that looks exactly like a rain leak if the ductwork happens to run near the chimney. The tell here is the reverse of a leak: the stain grows on hot dry days when the system is working hardest. If your stain got worse during a week with no rain, check the AC before you check the roof.
The third is traveling water, which is less an impostor than a warning about all the evidence above. Water follows rafters, decking seams and the top edge of drywall downhill and sideways before it finds somewhere to fall. A stain three feet from the chimney can be flashing water that walked, and a stain right at the chimney can be roof water that used the chimney framing as its exit. This is the real reason "we sealed the chimney and the stain came back" is such a common story. The chimney was never the door the water was using, and nobody traced the path before reaching for the sealant.
What each repair actually involves
Knowing the scope behind each door is what turns a quote into something you can evaluate, and it is also how you spot a proposal that is treating a symptom.
Flashing is a rebuild, not a seal. A correct repair re-establishes the layered assembly: step flashing woven back into the shingle courses so each piece laps the one below, and counter flashing let into a cut or a raked mortar joint in the masonry and lapping down over the step flashing. Sealant is a detail at the top edge of that assembly, not the assembly itself. If a quote for a flashing leak describes applying a compound and nothing else, it is describing a patch over the water path rather than a repair of it.
Crown work depends on the existing construction and condition. Surface treatment may be considered only where the substrate and crack pattern support it, while broader failure may call for a different scope. The proposed material and geometry should be stated in writing, and no crown repair should be promised to prevent every future leak without assessing the other possible water routes.
The flue-to-crown joint is a small, specific fix that is easy to skip and very effective when it is the culprit. The joint is re-formed as a deliberately flexible sealed bond, so the clay liner and the concrete crown can move at their own rates without opening a channel between them. It is often done at the same time as crown work for the obvious reason that the pro is already up there with the crown open.
A cap is a part, but specifying it correctly is where the value is. It has to be sized to the flue it covers, it has to be mechanically fastened rather than resting in place, and in this climate the metal choice matters, because a cap that corrodes is a cap you buy twice and a rusting cap streaks the brick below it while it fails. A cap also stops animals and debris, which is a second problem solved by the same visit.
Masonry is a two-step job and the order is not optional. Failed mortar joints are repointed first: the joint is cut out to depth and refilled, because a repellent applied over an open joint simply coats the inside of the gap. Only then does a water repellent go on, and it must be vapor permeable, a siloxane or silane type that leaves the masonry able to dry outward. Painting a film-forming coating or a silicone product onto a chimney locks the moisture already in the wall inside it, and masonry that cannot dry is masonry that spalls. That is the single most consequential material decision on the whole list.
Chimney leak repair · Chimney waterproofing · What goes into a flashing repair quote · What goes into a crown repair quote
What you cannot diagnose from the ground
Everything above narrows the list. None of it confirms the answer, and it is worth being straight about where the limit sits, because a guide that implies otherwise is setting you up to buy the wrong repair confidently.
From the ground you cannot tell whether a crown crack is a surface craze or a break that goes through the slab, and those get different repairs. You cannot see the counter flashing where it enters the masonry, which is usually where it lets go, and you cannot see the step flashing at all because it lives under the shingles. You cannot see the crown-to-liner joint, the underside of the cap, or the interior of a chase cover. You cannot see the inside of the flue, so you cannot rule out a cracked or displaced liner section. And you cannot distinguish a slow saturation leak from ordinary condensation by looking, because both make the same wall damp.
Confirming a leak usually takes testing rather than looking. The standard method is a controlled water test with someone watching from inside: water is run on one zone at a time, starting low and working up, shingles first, then the flashing, then the masonry faces, then the crown and cap area, with each zone given time to show itself before the next is wetted. Start at the top and everything gets soaked at once, which proves nothing. When the observer sees the first water, the zone being tested at that moment is the source. Sometimes the answer is two zones, which is precisely the case that guessing gets wrong and testing gets right.
Why the caulk-gun fix keeps failing
A thick smear of roofing tar or hardware-store silicone over a suspected leak is a fix that tends not to hold, and the reasons are physical rather than moral. A compound slathered over failing flashing bridges a gap without restoring the overlapping water path underneath, so water that gets behind the smear anywhere upslope is now trapped behind it with nowhere to shed. Sun then cooks the patch brittle, it cracks, and the leak returns through the fix. Worse, the smear buries the evidence a diagnostician needs, so the next person up the ladder is working blind.
The other common self-inflicted wound is sealing the brick with the wrong product. Masonry has to be able to release the moisture it already holds. A film-forming coating or a silicone sealer stops it, and the trapped water keeps working on the mortar from the inside. In the Panhandle and across North Florida, where an occasional hard freeze still happens, saturated brick behind an impermeable coating can lose its face in a single night. This is the entire reason the trade specifies vapor-permeable repellents and rebuilds flashing instead of caulking over it, and it is why sequence matters: diagnose, repair the named source, and only then add protective layers to a chimney that is already sound.
Before the next storm season
The cheapest time to fix a chimney leak is before the weather that causes it. From June through November, tropical systems and daily convective storms deliver exactly the driven rain that finds weak flashing and hairline crown cracks, so a check of the cap, crown, flashing and masonry ahead of that stretch is the least expensive attention the roofline ever gets. If the chimney has leaked once, treat that as a standing invitation rather than a one-off, because the opening that let water in has not healed.
After any major storm, look the chimney over from the yard even if the ceilings are dry. Lifted flashing and a shifted cap do their damage over the following weeks, not the following minutes, and finding them early is the difference between a part and a repair. NFPA 211 recommends an annual inspection regardless of what the ceiling is doing, and an active leak is the one situation where waiting for the annual visit is the wrong call: every week a leak runs is another week of wet decking, rusting damper and soaked insulation in a climate that already does half that work for free.