
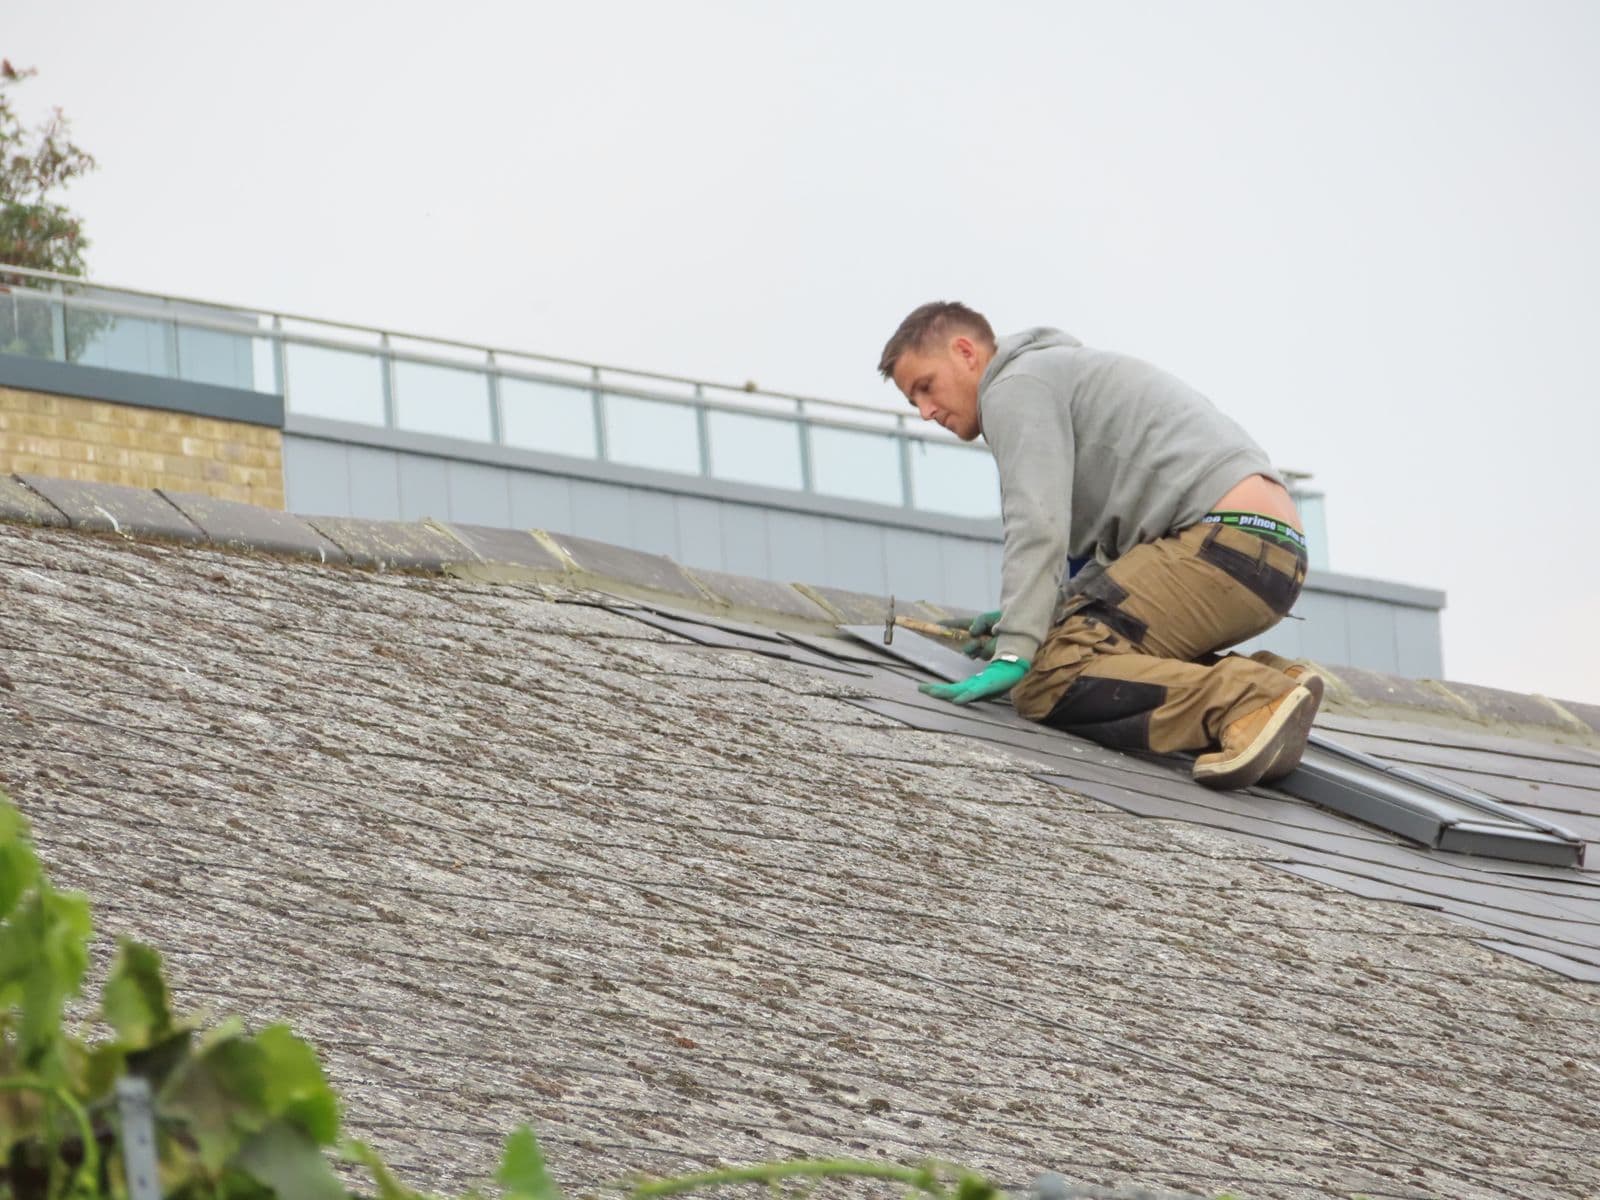

How flashing repair is priced in Florida
Flashing is priced off the roof covering first, because the covering decides the job. Step flashing woven into shingle courses is the baseline detail. Under barrel or flat tile, pieces have to be lifted or cut without cracking them and a pan-and-soaker course built underneath: slower, less forgiving work. Standing-seam metal has its own detailing again. Then comes scope: refreshing a counter flashing joint that is fundamentally sound is a smaller job than stripping and rebuilding the whole chimney-to-roof interface. Height, pitch and how safely a ladder reaches that seam move the labor on every version of it.
Two things a homeowner cannot see from the ground also set the number. The first is what appears once the covering comes up: sound decking under the old flashing keeps the job in the tier it was quoted at, while soft or wet sheathing turns it into carpentry, which the estimate should name as its own line rather than bury. The second is mobilization. Flashing replaced during a reroof rides along with work already happening, while the same flashing done alone later pays for its own setup. If the crown or cap also needs attention, one trip up beats separate ones.
That is why a complete flashing quote reads like a specification rather than a single line. It names the metal (galvanized, aluminum, stainless or copper), says whether the step flashing and the counter flashing are both being replaced or only the surface dressed, states how the counter flashing terminates (a cut mortar reglet, or into stucco on a rendered chimney), and says whether a cricket behind a wide chimney is included. A quote that lands strikingly under the others usually earns it by sealing over the existing metal, leaving the failed assembly in place underneath.
- Roof covering is the biggest single lever: tile and metal are a different detail from shingle, not the same job done slower.
- Ask which metal is specified, and why that metal for your exposure; salt air is unkind to the budget option.
- Ask whether the price replaces both step and counter flashing, or only re-seals what is already up there.
- Ask what happens if the decking under the flashing is wet: how that gets priced, and whether you approve it before it is done.
- If your roof is near replacement, say so; pairing the flashing with the reroof avoids buying the same detail again.
Flashing repair · Chimney leak or roof leak? · Free estimate
What flashing is and why it is the weak point
Flashing is the layered metal system that seals the joint where your chimney rises through the roof. Done properly it is two interlocking parts: step flashing, L-shaped pieces woven into the shingle or tile courses up the chimney’s sides, and counter flashing, set into a cut mortar joint in the chimney itself and folded down over the step pieces. Water running down the masonry hits the counter flashing, sheds onto the step flashing, and rides the roof down, no sealant required to do the primary work.
That joint is the most common water entry point on a Florida chimney, and it is worth saying plainly: the ceiling stain next to the fireplace is a flashing problem more often than it is anything else. The joint moves (chimney and roof expand at different rates), the metal ages, fasteners back out, and every afternoon storm from June through September tests the seam again. When flashing fails, water follows the framing quietly for months before the first stain shows.
Florida is a flashing stress test
Three local forces work on this seam harder than in most of the country. First, wind-driven rain: our summer storms and tropical systems push water sideways and even upward under laps that would never leak in vertical rain. Flashing that is merely “good enough” elsewhere leaks here. Second, salt air on both coasts corrodes galvanized flashing years ahead of schedule: pinholes and rust-through along the bends are a routine coastal finding.
Third, hurricanes mechanically lift flashing. Uplift that flexes the roof deck can pull step flashing fasteners and open the counter flashing’s mortar joint, which is why lifted or peeled flashing is one of the most common post-storm chimney calls. A quick look at the flashing after any named storm (even binoculars from the yard) is one of the cheapest habits a Florida homeowner can keep, because caught early this is a modest repair and caught late it is a rotted-decking project.
Florida construction adds a wrinkle of its own. On stucco-clad and CBS chimneys (a huge share of the housing stock from Orlando to the coasts), the counter flashing often terminates into stucco rather than a cut brick joint, sealed where metal meets render. Stucco hairlines at exactly that interface as it ages, and the sealant bakes out in our sun, so the stucco-to-flashing seam deserves specific attention in any estimate on a stucco chimney.
The three repair tiers, and what separates them
Flashing work comes in three tiers, and the tier, not the chimney, is what sets the price. Re-sealing is the light tier: the flashing is fundamentally sound, so the crew refreshes the counter flashing joint and closes minor separations without replacing metal or disturbing the roof covering. Partial repair steps up, because it means opening the roof at the failed runs to replace damaged sections, re-secure lifted pieces, or re-cut a mortar reglet that has let go.
A full re-flash (stripping the old system and installing new step and counter flashing around all four sides) is the top tier, and it is genuinely roof-and-masonry work rather than a seal-and-go visit: every course on every side is opened and closed again, and tile or a wide chimney makes that slower still. Flashing cannot be honestly priced without seeing the roof, which is why the number for your chimney comes from a free estimate rather than a phone call. If leaked water has already rotted decking or framing, that repair is a separate scope the estimate should name explicitly.
What moves the price
Roof material is the biggest lever. Asphalt shingle is the baseline: step flashing weaves into shingle courses in a well-understood way. Barrel and flat tile, a huge share of Florida roofs, cost meaningfully more, because tiles must be lifted or cut without breaking them, the flashing detail is more complex, and tile work is slower and less forgiving. Metal roofs have their own detailing and sit between the two. Roof pitch and height add labor across all of them.
Chimney size and construction matter too: a wide masonry chimney means more linear feet of flashing and a cricket (the small peaked diverter behind wide chimneys that keeps water from pooling), which may need building or replacing if the original roof never had one. Material grade rounds it out. Galvanized is the budget option and the first to rust; aluminum resists better inland; on the coasts, stainless or copper is the honest spec, and copper in particular turns a repair into a once-in-decades purchase.
One planning note worth real money: if your roof is near the end of its life, say so when you call. Flashing is normally replaced during a reroof, so paying for a premium re-flash a year before new shingles means paying twice. In that situation an honest recommendation is often the modest tier (a repair that bridges to the reroof), with the full system done properly when the new roof goes on.
The caulk-over trap
The signature cheap fix in this niche is troweling roofing tar or caulk over the whole flashing assembly. It is fast, it photographs well, and it fails on a schedule: Florida sun cooks sealants hard and cracked within a couple of seasons, and the goop conceals the metal underneath so the next honest pro has to excavate tar before they can even diagnose. Worse, smeared-over flashing can trap water behind it, redirecting the leak deeper into the roof instead of out.
Sealant has a legitimate, narrow role (the top edge of counter flashing joints, minor lap details) as a component of a metal system, never as a substitute for one. A flashing quote built mostly on “sealing everything” is a one-to-two-season patch priced like a repair. The durable fix is mechanical: metal shaped, lapped, and fastened so gravity does the waterproofing, with sealant only where the design calls for it.
Vetting a quote takes two questions. What metal, exactly (galvanized, aluminum, stainless, copper), and does the price replace both the step flashing and the counter flashing, or only dress the surface? A company that answers both plainly on an estimate is describing a repair. A company that talks mostly about sealing is describing a delay.
Checks you can make before calling
Two ten-minute checks sharpen the conversation. From the yard, with binoculars or a zoomed phone photo, look at the seam where chimney meets roof: counter flashing that has popped out of its joint, step flashing edges lifted or wavy, rust lines, or old tar smears from a previous owner’s patch job are all visible from the ground. Note which side of the chimney faces the weather: leaks usually start on the windward face.
Inside, take a flashlight into the attic after a hard rain and look at the framing around the chimney: dark water trails, rusted nail tips, damp insulation, or, worst case, daylight at the roofline. None of this diagnoses the repair tier, and none of it requires walking a roof, which you should not do. It simply tells you whether you are calling about a suspicion or an active leak, and the second one is worth saying on the phone, because it changes how fast a pro should be on your roof.
How the free estimate works
Flashing concerns can be difficult to assess from the ground, and water may enter through more than one route. A technician can visit the property and give a free estimate. The estimate should identify the proposed flashing scope, material, and price without promising a diagnosis or repair before accessible conditions are assessed.
The estimate describes the proposed work and price. If the customer cancels after paying the deposit, the company keeps it. Payment and job terms are stated in the job-specific paperwork. Call to ask about current availability.